
AGENT FIELD GUIDE
Floor plan to 3D render: a practical AI guide
Follow a floor plan to 3D render workflow using the layout you already have. Learn what to upload, how to ask Agent to preserve important details and how to move from a whole-home cutaway to a specific room view.
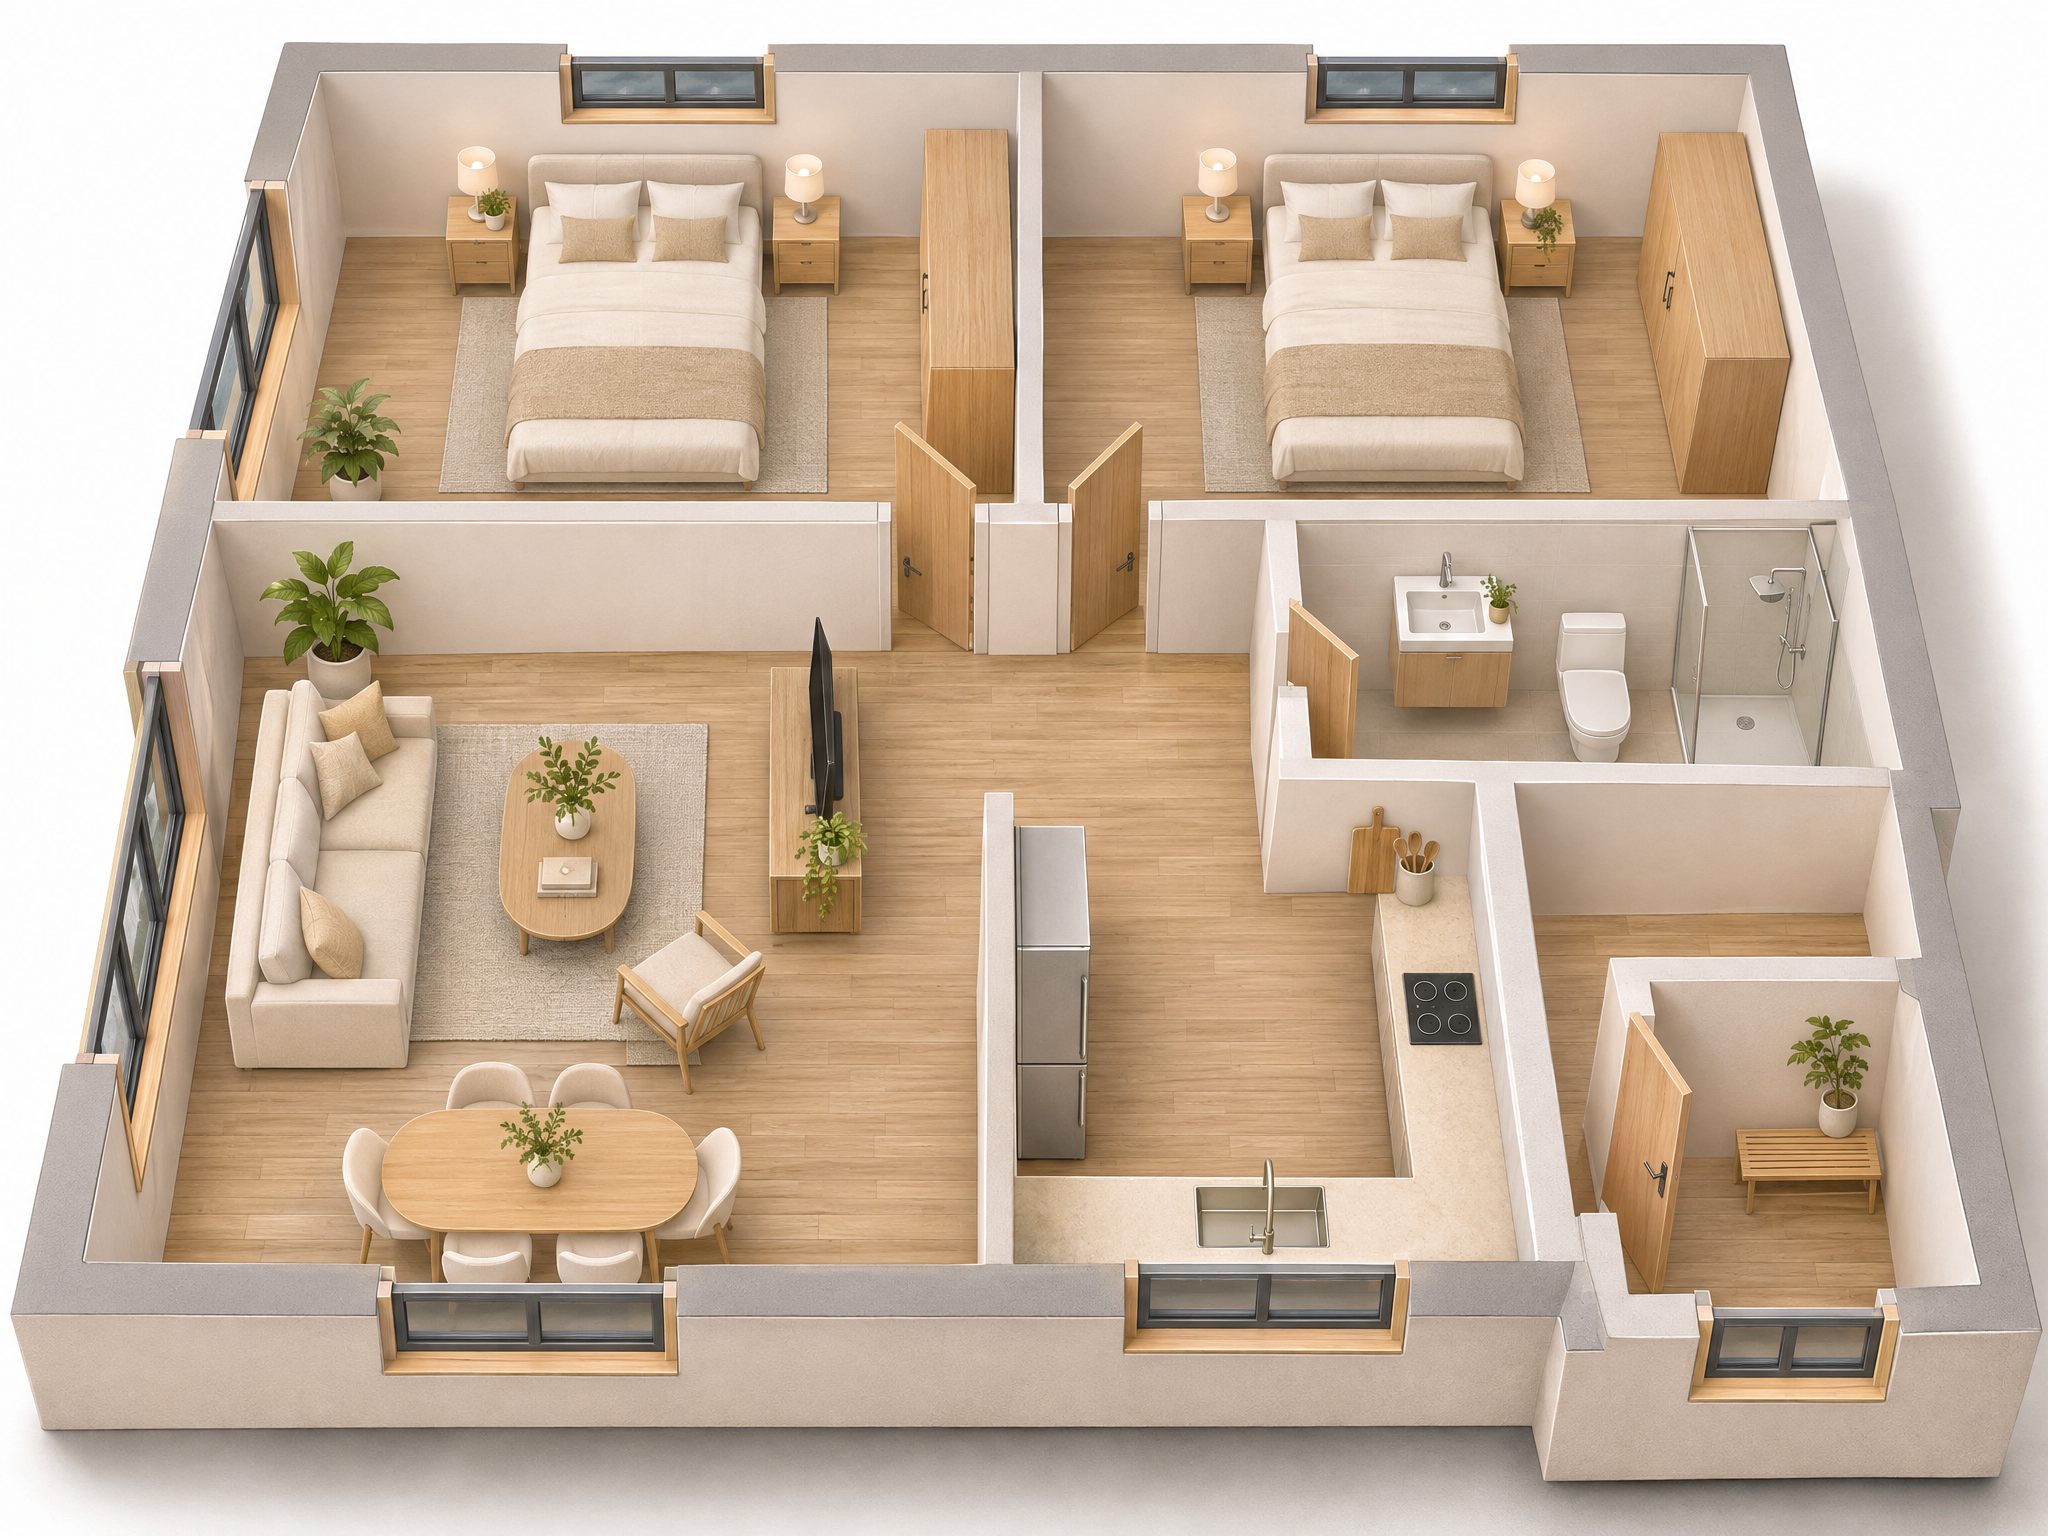
The floor plan to 3D render process starts with a clear plan attached in Agent. Name the view you want and specify which walls, openings and rooms must stay. Request a layout review before rendering when the drawing is ambiguous.
A floor plan to 3D render request produces an image. A flat plan does not specify every ceiling height, material or furniture item; identify those as design choices. For editable walls and geometry, use the separate 2D-to-3D model workflow. Need an editable 3D model?
Copy a floor plan to 3D render prompt
Attach your plan before sending this floor plan to 3D render prompt. “Make it 3D” leaves too much undecided: specify a whole-floor cutaway, the elements to preserve and the finishes you want to explore. Preservation instructions guide generation; they do not guarantee exact reconstruction.
English prompt · edit the details before sending
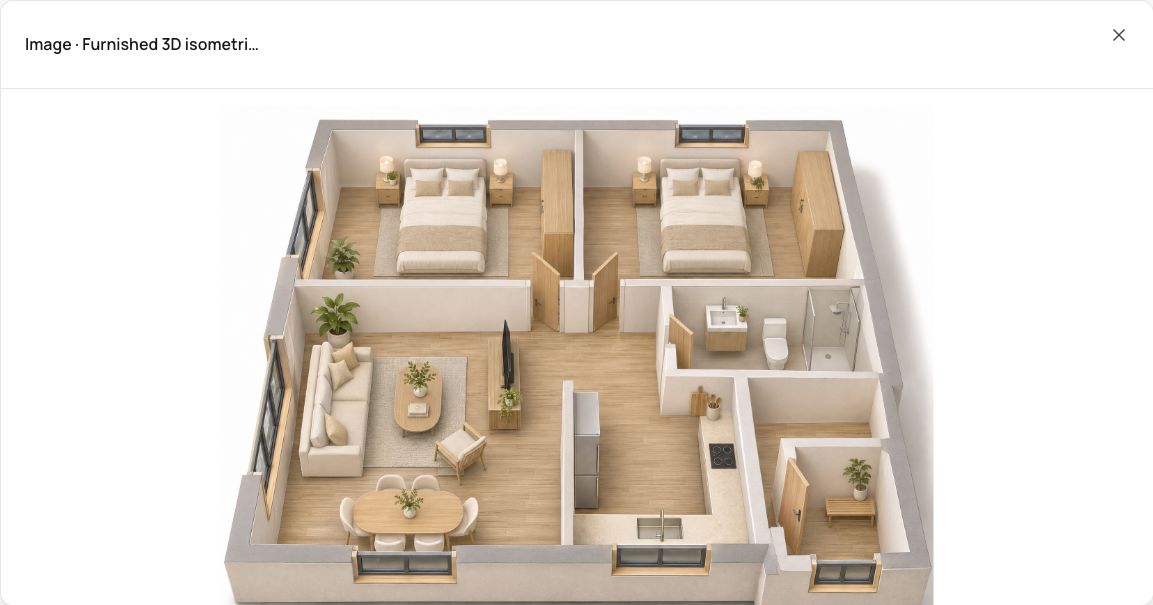
Use the attached floor plan as the layout reference. Generate one furnished 3D floor plan image: isometric cutaway, roof removed, all rooms visible. Preserve the outer boundary, room count, walls, doors, windows and entrance. Do not mirror the plan or move the kitchen and bathroom. Use light oak floors, off-white walls and simple furniture. If a wall or symbol is unclear, ask before inventing a layout.
Read the reference before you render
Source plan
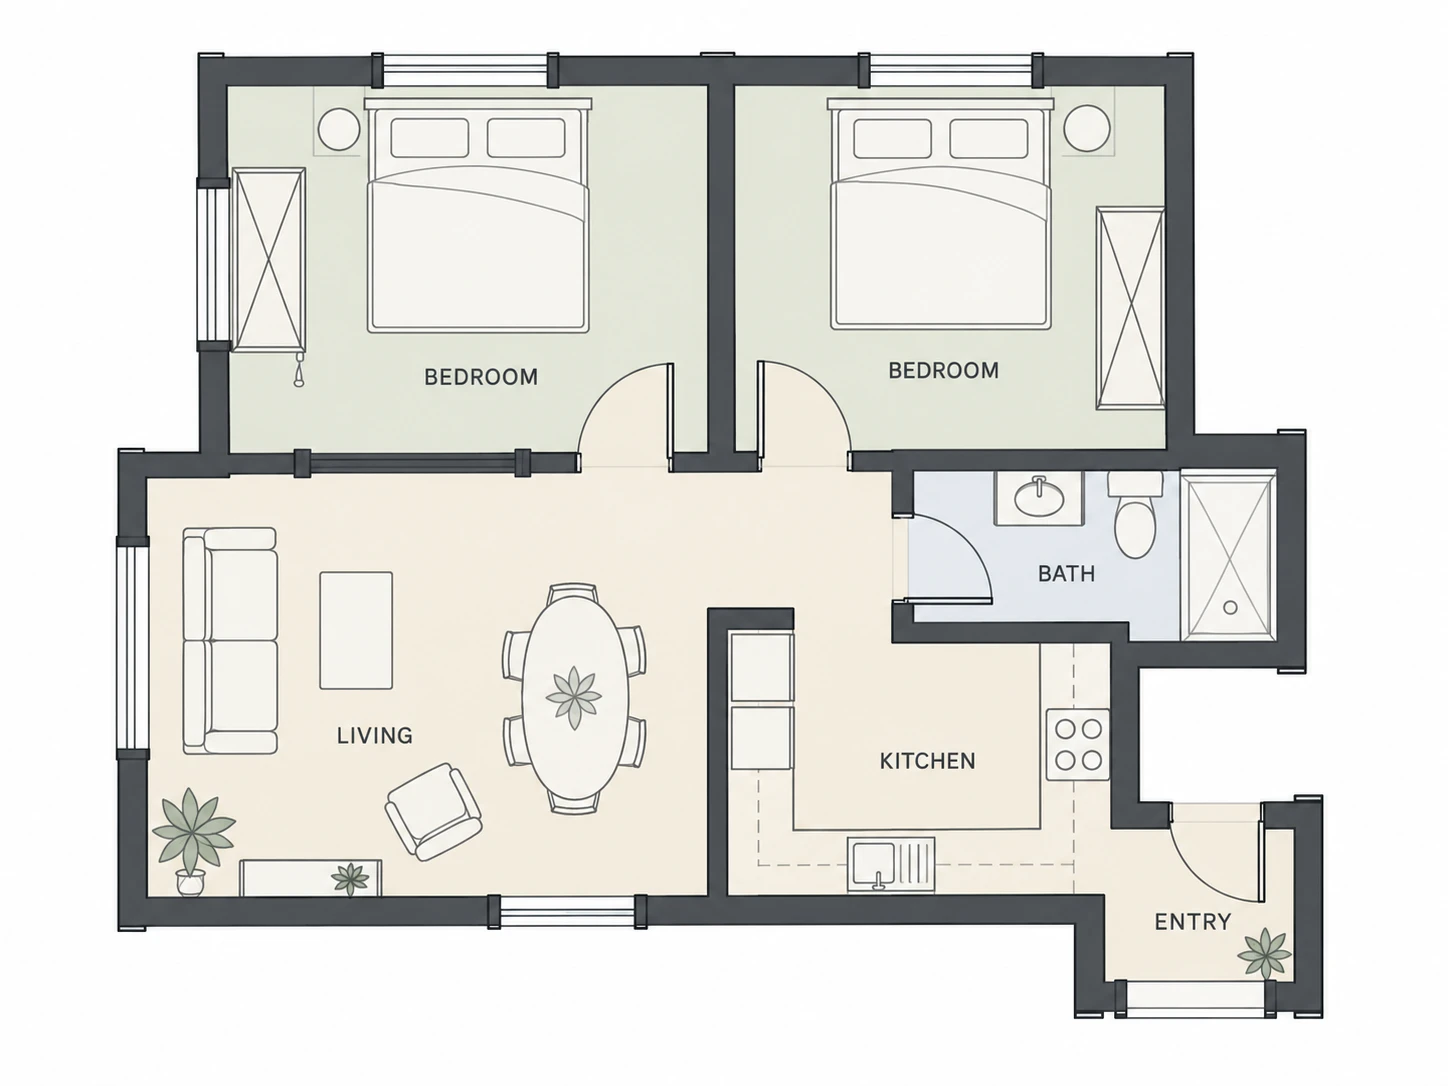
Actual Agent result
This floor plan to 3D render example retains two bedrooms along the top, the bathroom above the kitchen on the right and the projecting entrance. The output changes the dining set from six chairs to four and alters entrance proportions. Compare the images as a concept study, not proof of a dimensionally exact conversion.
Reference run: these results used English requests. Localized templates are editable starting points, not separately tested runs. The plan example was supplied as a public image URL.
Read the English request used for this run
Use this public sample floor plan as the layout reference: https://cdn.3droomdesign.ai/retain/3droomdesign/assets/web/sketch-to-floor-plan/two-bedroom-clean-plan.852184b8322e.webp Generate one furnished 3D floor plan image: isometric cutaway, roof removed, all rooms visible. Preserve the outer boundary, two bedrooms along the upper edge, the bathroom above the kitchen on the right, and the projecting entrance at the lower right. Do not mirror the plan or move walls, doors, windows, kitchen or bathroom. Use light oak floors, off-white walls and simple furniture. If you cannot access the reference image, tell me instead of inventing a layout.
Read the layout, not just the style
Select a marker to inspect the layout.
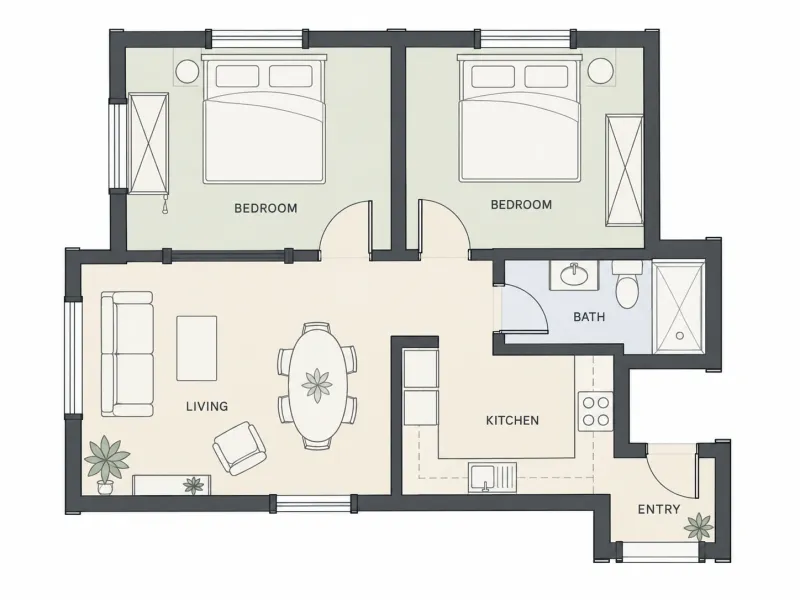
Count two bedrooms and check their access from the shared space.
An open counter is not a separate kitchen. Look for the enclosing walls and doorway.
Trace a clear route from the entrance into the living area.
Prepare the input before you style the home
For a floor plan to 3D render task, use one clear floor at a time. Export an image from your drawing or PDF so the complete floor fits in a single view. Keep room labels and useful dimensions readable, and remove unrelated pages, borders and personal information.
- 01 / Complete boundary
- Include the whole outer wall, entrance and relevant balcony or courtyard. A cropped edge makes it hard to tell whether the building ends or continues.
- 02 / Legible openings
- Keep door swings and windows distinct from furniture lines. Explain abbreviations such as D, W and WC when their meaning is unclear.
- 03 / One source of truth
- Say which image contains the layout. If you add a style reference, identify it as finishes only, so its room arrangement does not compete with your plan.
- 04 / Known dimensions
- Give real measurements and their units when available. If you only know one length, say which wall it belongs to; do not invent the rest.
- 05 / Fixed elements
- Name the walls, kitchen, bathroom, entrance and windows to retain. State whether the existing furniture is fixed or merely a suggestion on the drawing.
- 06 / Missing decisions
- A 2D plan rarely determines ceiling height, daylight, cabinetry or finishes. Supply them if known; otherwise ask for clearly identified proposals.
Floor plan to 3D render: the Agent workflow
Attach the plan
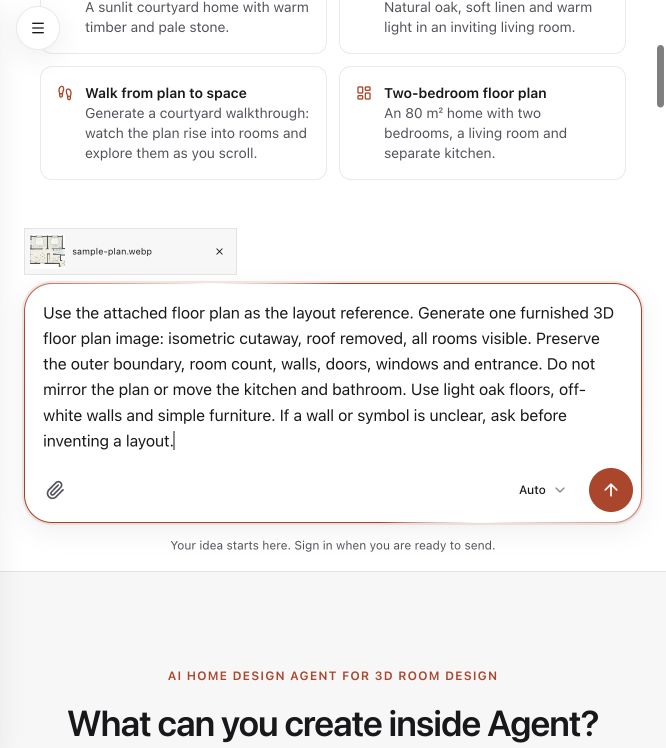
Start your floor plan to 3D render task in Agent using the paperclip, “Attach reference images”. Choose your plan image and wait for its thumbnail above the message box. Check the floor and orientation; remove and replace a mistaken attachment.
Choose the view and send the brief
Paste the layout-preserving prompt and replace its material choices. Use “Send message” when ready, signing in if prompted. For an unclear sketch, send the read-back prompt below first and resolve the questions before requesting an image.
Compare against the original
Review the floor plan to 3D render result against the source, room by room. Correct missing openings or misplaced rooms before changing finishes. Continue in the same conversation and refer to the original plan when you ask for a correction.
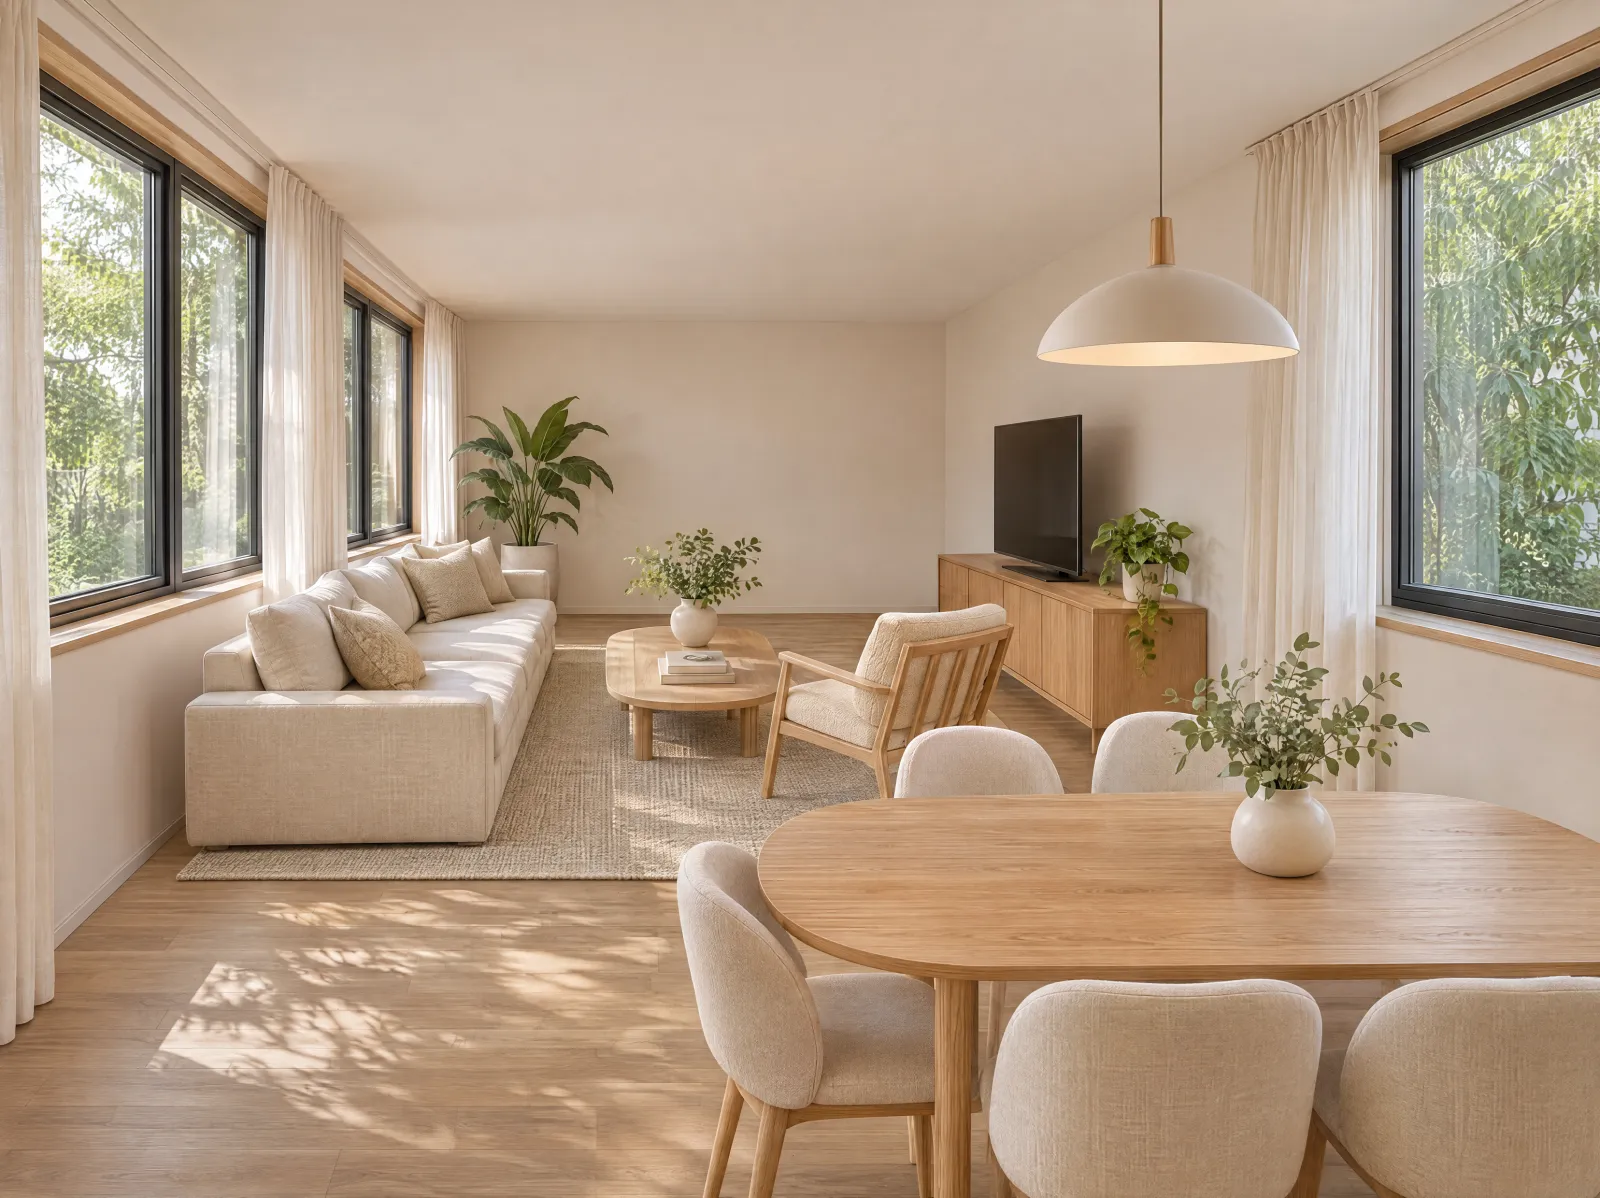
From the whole floor to eye level
Three follow-ups that make the workflow useful
Choose the next step in your floor plan to 3D render workflow: clarify the drawing, explore another viewpoint or correct an error. Keep the original plan available throughout.
Ask Agent to read the plan before rendering
Before a floor plan to 3D render request, ask for a read-back if the sketch has small labels or ambiguous openings. Compare the written room list with your drawing and answer the questions. This can reveal misunderstandings early, but the final image still needs a visual check.
English prompt · edit the details before sending
Before generating, describe the attached plan: room count, entrance position, kitchen and bathroom locations, and how the rooms connect. List unclear walls, door openings and symbols as questions. Do not invent dimensions. Wait for my confirmation before creating the image.
Request an interior view of one room
A floor plan to 3D render workflow can produce a layout overview or an eye-level room scene. For the latter, name the room, camera position and viewing direction. The room image is another interpretation of the plan, not a guaranteed camera view of a shared 3D model.
English prompt · edit the details before sending
Use the attached floor plan to create one eye-level interior concept of the living room, viewed from its doorway toward the exterior window. Preserve the room shape and visible door/window locations. Use warm oak, linen upholstery and soft daylight. Show this room only. Treat furniture, ceiling height and finishes that are not specified on the plan as proposed design choices.
Correct a doorway without redesigning the home
Identify the error and use the original drawing as the reference. Keep the rest of the request narrow. If the next image changes unrelated details, return to the better version and make a more specific correction.
English prompt · edit the details before sending
Revise the last 3D floor plan image using the original plan as the reference. Restore the bathroom doorway to the position shown in the plan. Keep the room arrangement, other doors and windows, furniture, finishes and camera unchanged. Do not redesign the bathroom or add rooms.
Check your floor plan to 3D render result
- Outer boundary and orientation: has the home been mirrored, stretched or given a new wing?
- Rooms and connections: are the room count, entrance, kitchen and bathroom in the right positions?
- Walls and openings: compare each door and window, especially along small rooms and corridors.
- Furniture and circulation: do furniture pieces block a doorway, narrow a passage or imply an opening that is absent from the source?
Common floor-plan rendering problems
The layout changed while the style improved
If the floor plan to 3D render result changes the layout, reattach or clearly refer to the original plan. List the fixed walls and room locations, then ask for one correction at a time. If precision is essential, switch to an editable model workflow and verify the geometry.
The output is a cutaway, but you wanted a living-room render
Specify an eye-level camera in the living room and describe where it looks. Use “whole-floor isometric cutaway” for a layout overview and “eye-level interior” for a room scene.
The plan is blurry or contains several storeys
Export a cleaner image, separate the floors and keep their orientation consistent. For connected floors, state the same staircase location. Avoid asking the model to infer hidden dimensions or unreadable labels.
Questions before you start
Put your own home into the brief
Copy a prompt, replace the dimensions and room requirements, then review it in Agent before you send.
Open Agent