
Draw your floor plan from scratch
Draw and adjust walls, doors, windows, and room shapes with grid and snap controls that help keep the layout clear and aligned.
Create a 2D floor planFloor Plan Creator
Start with a template, draw your own layout, or use AI to create and revise a plan. Fine-tune it on the same 2D canvas, then export your work.
New accounts receive 30 welcome credits once. Existing accounts and repeat sign-ins do not receive another gift. The number of results depends on the tool, model, and image count. Compare plans and credits
01 / Choose your starting point
Draw and adjust walls, doors, windows, and room shapes with grid and snap controls that help keep the layout clear and aligned.
Create a 2D floor planChoose a bedroom, kitchen, bathroom, or living room plan, then reshape it for the space you are planning.
Explore templatesDescribe your layout or attach a reference image. Review the result, then continue editing on the canvas.
Open AI assistantTurn a first idea into an editable 2D floor plan, with practical tools for planning room layouts and refining the details yourself.
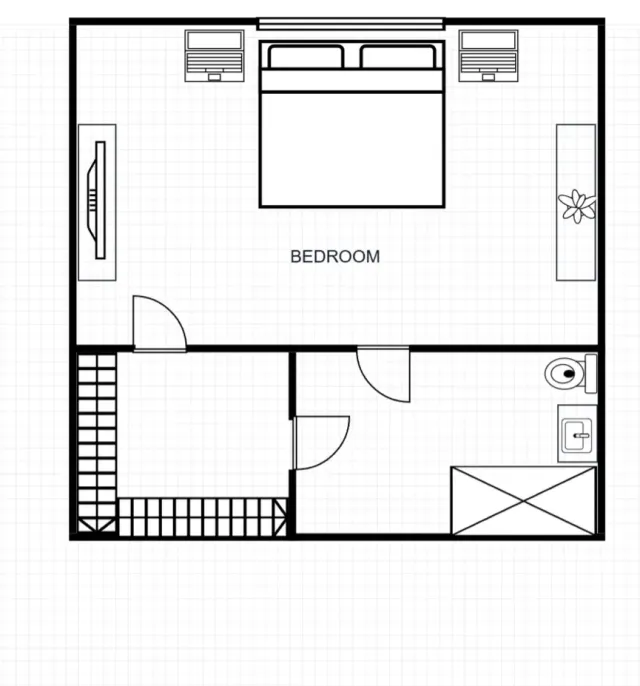
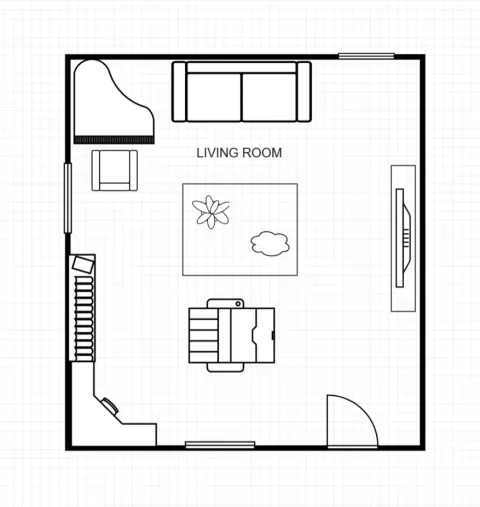
Start with a bedroom, kitchen, bathroom, or living room floor plan template. Adjust the walls, openings, and furniture to suit your space, so you can explore a room layout without drawing every element from scratch.
Describe the layout you have in mind or attach a reference image for AI assistance. Review the proposal, then keep drawing and editing on the same canvas. AI usage depends on your plan and available credits.
Use grid and snap controls to position walls, doors, windows, and furniture. Add dimensions and labels, then resize or rotate elements to compare arrangements. Check measurements against your space before using the plan.
Download a PNG to share a layout, export a saved plan as DXF for compatible CAD software, or keep a JSON project for later editing. Check the exported scale and objects before handing the plan off.
02 / A little head start
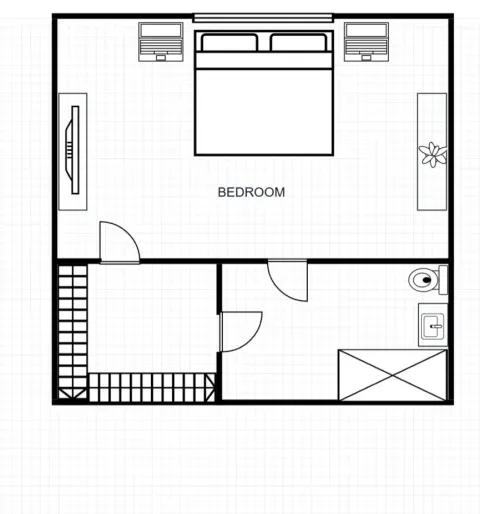
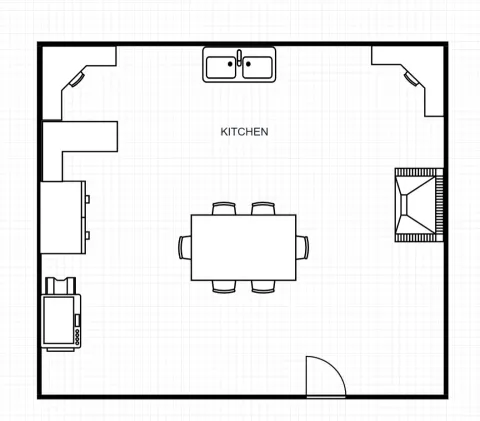
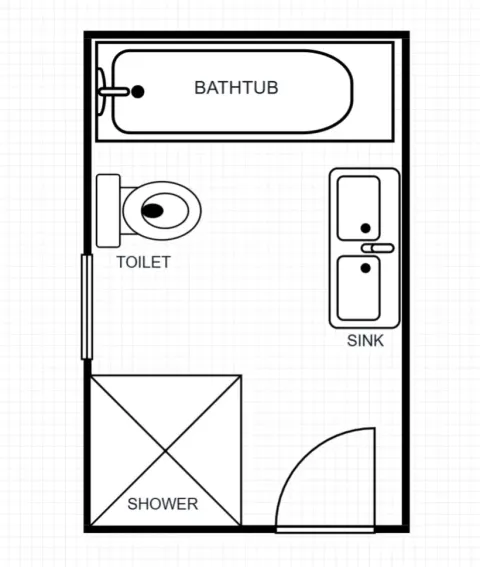
Four real, editable room plans. Choose one, then adjust the layout, dimensions, and furniture to fit your space.
03 / AI assistance
Give the AI assistant a layout brief or a reference image, then continue with the drawing tools. You decide what to keep and what to change.
Example briefOpen AI assistantPlan a living and dining area with a clear route between the entrance and windows.
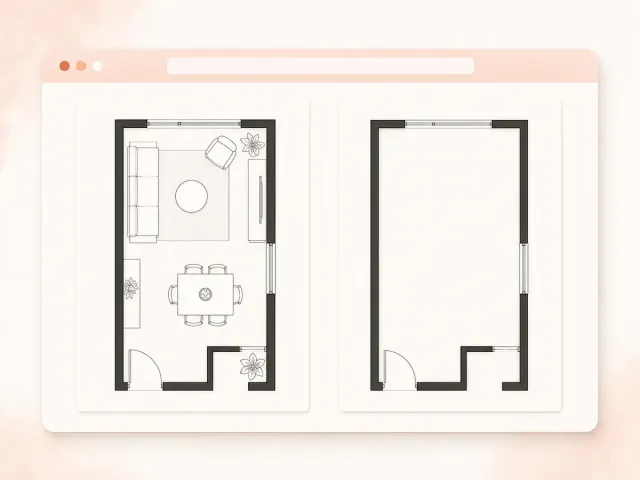
Describe your layout or attach a reference image. Review the result, then continue editing on the canvas.
Review the layout and dimensions. For an existing plan, inspect proposed changes before accepting them.
Create the walls and openings, then add dimensions, labels, and furniture symbols. Check the plan for clear geometry before exporting it.
04 / Inside the 2D workspace
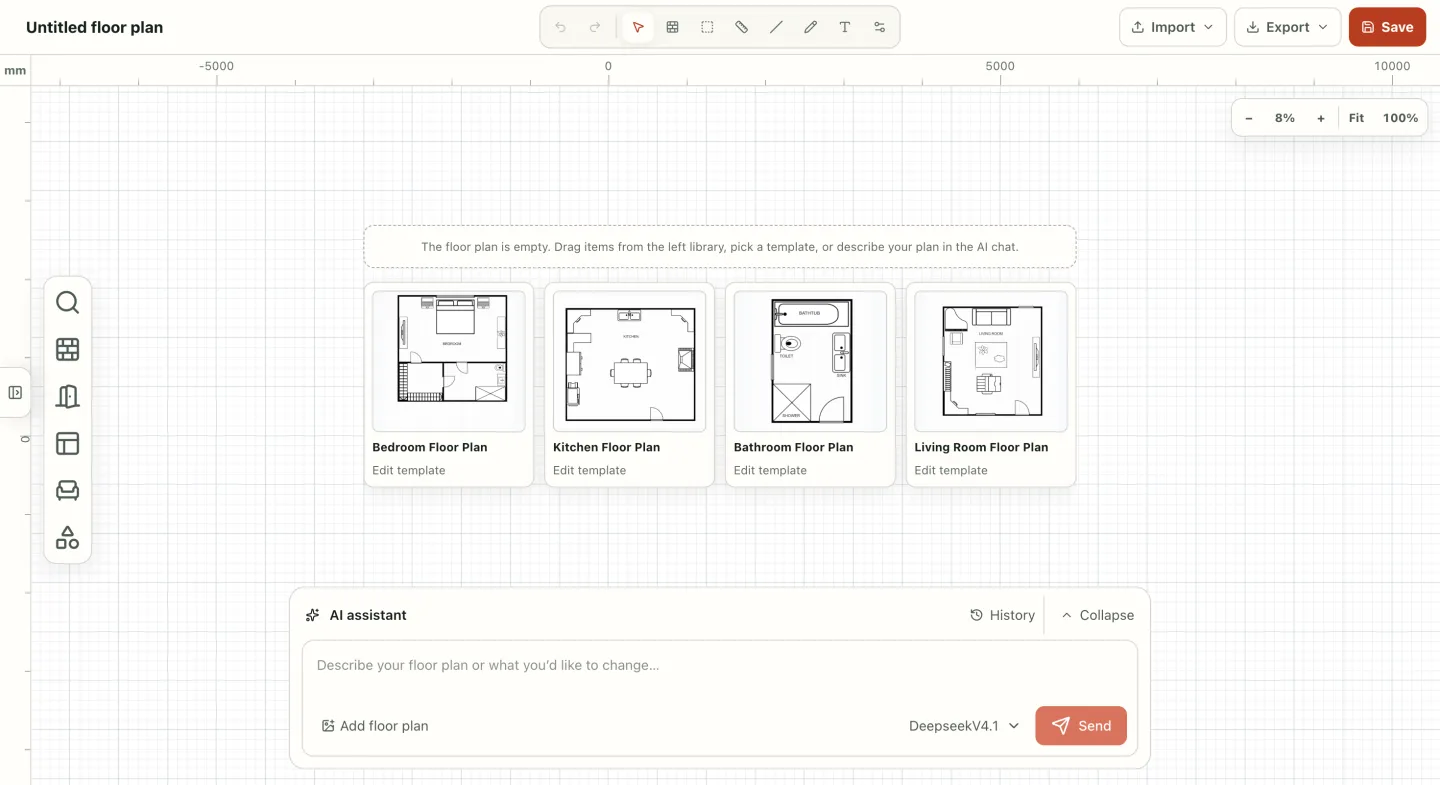
The visual workspace brings templates, drawing tools, object controls, saving, and export into one focused view. Build the plan directly instead of setting up layers in professional CAD software.
Open a blank canvas for a custom room or select an editable template as a faster starting point. Your plan remains fully adjustable.
Create the walls and openings, then add dimensions, labels, and furniture symbols. Check the plan for clear geometry before exporting it.
Save the design record and export a clean PNG of the floor plan. The downloaded image becomes the handoff between the 2D and 3D tools.
05 / Made for the details
Draw and adjust walls, doors, windows, and room shapes with grid and snap controls that help keep the layout clear and aligned.
Communicate scale and room use with measurements, text, and furniture. Resize, rotate, and style elements so the 2D plan is easy to understand.
Select, move, resize, rotate, and measure plan elements while grid and zoom controls keep the drawing readable.
Save the design to your history, download a PNG for 3D Design, or import and export JSON project data.
Two ways to use an image: import a PNG as a reference to draw over, or attach a plan to an AI request. Importing a reference does not automatically create editable walls.
06 / Take your work with you
Share a plan image, keep an editable project, or use the DXF export. Review dimensions and exported objects before handing off your work.
Keep the floor plan as an editable design record, export project data when needed, and download a PNG for sharing or for the next step in 3D Design.
Export the saved plan as DXF for compatible software. Check scale and supported objects before using it in another application.
Download a JSON project file and import it back into Floor Plan Creator to continue your work.
Download the finished PNG, then upload it in 3D Design to use the same layout as the source for a 3D room. Open 3D Design →
07 / From blank canvas to 3D
Use your 2D plan to discuss an idea or explore layout options. For a 3D view, export a PNG and upload it in the separate 3D Design workspace.
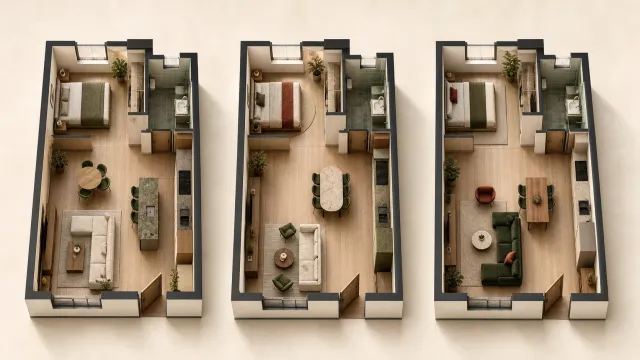
Explore different ways to organize the same space, starting with a clear floor plan.
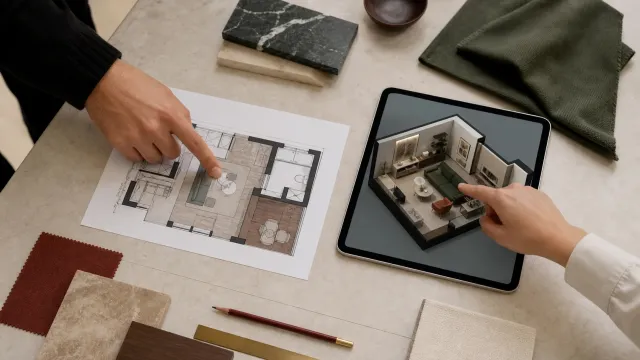
Bring a plan into a design discussion to explain room boundaries, furniture zones, and the next steps.
08 / FAQ
A few things to know before you start drawing.
Compare plans and creditsStart with one room
Pick a template, draw a layout, or ask AI to help. Make it yours on the canvas.
Create a 2D floor plan