Upload photos of a room and turn them into a 3D house tour you can explore in your browser. Start with one image, or add a few overlapping views for more context.
Start with a room photo. Discover a new perspective.
1–8 photos of one space
Choose your preferred detail level
Explore your 3D house tour
How to make a 3D house tour from photos
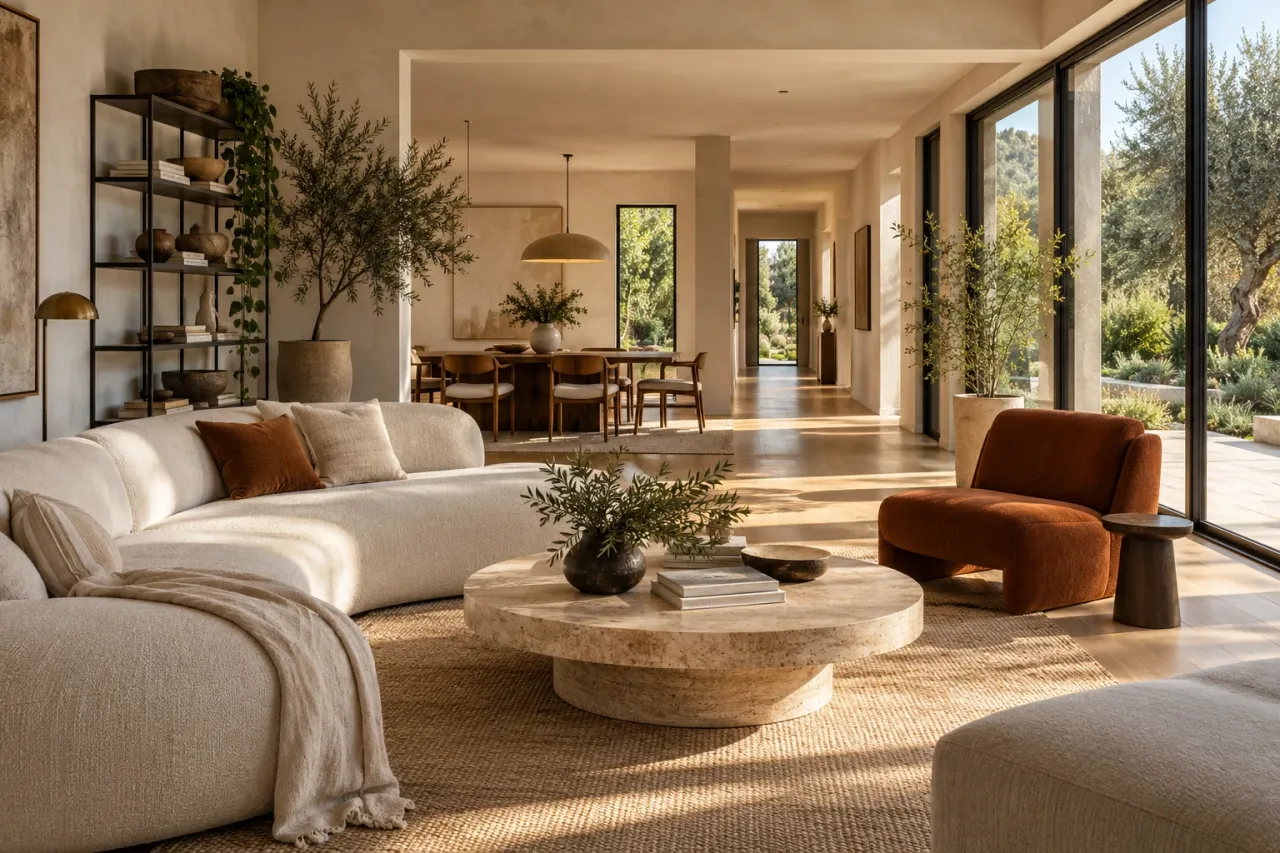
You only need one photo to start. Here’s the room above, from the first upload to a scene you can look around.
01
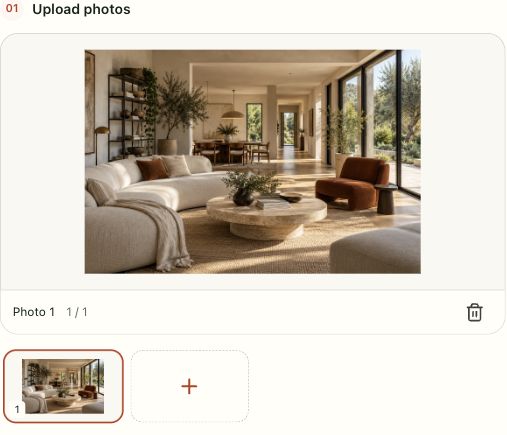
Choose photos of the same room
Add one photo, or up to eight views of the same room. Pick a clear shot that includes the floor, walls and furniture. If you use several photos, include overlapping details so the views can be connected.
02
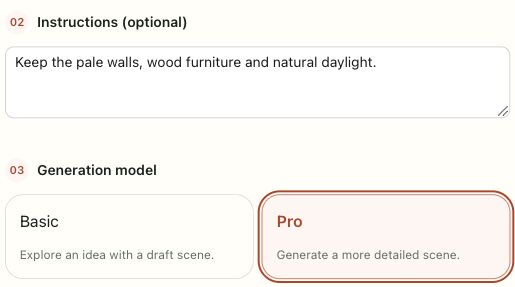
Pick Basic or Pro, then generate
Choose Basic for a first look or Pro for more detail. The instructions box is optional: use it to describe materials or features that matter. Select Generate to start your 3D home walkthrough. You can check its progress in History.
03
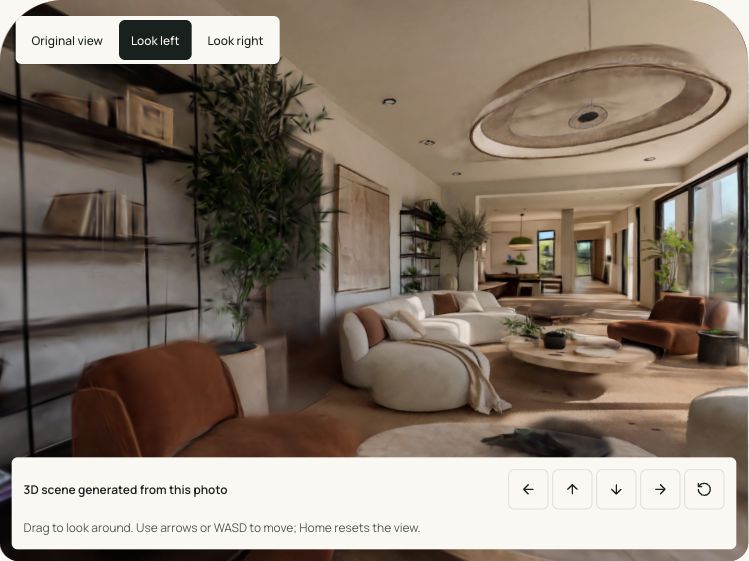
Open the scene and look around
When the scene is ready, drag to look around and scroll to zoom. Use the movement controls to try another viewpoint. Your virtual tour stays in History, and you can download the scene as an SPZ file.
A 3D house tour turns flat room images into a spatial scene you can explore in your browser. AI interprets visible furniture, surfaces and depth, then generates additional viewpoints. Unlike a recorded video, a virtual tour lets you choose where to look. These 3D home tours are useful for communicating atmosphere and spatial ideas; they do not replace measured floor plans or an on-site survey.
Create a 3D home walkthrough from one or more photos
1
Start with one photo
A single well-lit interior photograph or render is enough to begin a 3D house tour. Choose a view that shows the floor, walls and major furniture together. A 3D home walkthrough can reveal how an existing concept feels beyond the original camera angle, with AI completing areas the photo cannot show.
2
Connect two viewpoints
Add a second view of the same room to provide more visual context. For a useful 3D walkthrough, keep lighting, furnishings and room layout consistent across both images. Overlapping details help connect the views; two unrelated rooms will not automatically become an accurately connected home.
3–8
Build from multiple photos
Use three to eight images of one space for a broader visual starting point. When preparing 3D virtual house tours, move around the room and include recognizable overlaps. Avoid mixing before-and-after designs or heavily edited images. More relevant views give the model more context, rather than guaranteeing a measured reconstruction.
Explore, revisit and download your 3D walkthrough
Explore at your own pace
Move around the generated scene, rotate the view and inspect details without following a fixed video timeline. A 3D house tour gives your design discussion a shared visual starting point. Use the on-screen movement buttons on touch devices or keyboard controls on desktop.
Choose Basic or Pro
Start with Basic to explore an idea, or choose Pro for the higher-quality generation model. Both create interactive 3D home tours from the photos you provide. Add a short description of the space to guide the result, then explore the scene at your own pace.
Keep your work together
Return to previous results in History, reopen a scene and restore its original photo set and instructions. A saved 3D walkthrough makes it easier to revisit a design conversation. Keep the original inputs alongside the result so you can pick up where you left off.
Take the scene with you
Download the generated scene as an SPZ file for compatible Gaussian-splat viewers. Your 3D house tour remains available in the workspace for browser exploration. The export is a visual 3D asset, not an editable CAD floor plan, construction drawing or automatically measured building model.
3D home tours for design and property presentations
Interior designers
Use 3D virtual house tours to help clients discuss a furnished concept from more than one viewpoint. Start with your render, explore the result together and identify the details that need further design work before moving to technical drawings.
Real estate teams
Create 3D home tours to present spatial ideas alongside property photography. Keep the original photos available and explain when a scene is AI-generated. A virtual tour can support a listing presentation, while dimensions and property conditions still come from verified listing information.
Homeowners and renovators
Try a 3D house tour when a single image leaves you wondering how the room might feel. A 3D home walkthrough can help frame questions about furniture, sightlines and finishes before you ask a designer or contractor to confirm feasibility.
Your questions about 3D virtual house tours
Yes. Upload a clear room photo or interior render and the model creates an explorable scene. It infers hidden areas, so a 3D walkthrough is a generated interpretation of your image rather than a verified scan. Use additional overlapping photos when you have them.
Use sharp images with balanced lighting and consistent furnishings. Include walls, the floor and large objects rather than only close-up details. For 3D virtual house tours from multiple photos, photograph the same space from overlapping viewpoints and avoid people blocking important parts of the room.
Yes. A 3D house tour accepts one to eight photos. Two images use the multi-image workflow, just like a larger set. The photos should show the same space; separate bedrooms and kitchens are not automatically stitched into a dimensionally accurate whole-house model.
Open History in the workspace and select a completed scene to explore it again. The original photos and instructions return with your result, helping you continue a design discussion with the same context. You can also download the scene as an SPZ file for a compatible viewer.
The result is a Gaussian-splat 3D scene that supports changing your viewpoint, rather than only rotating a flat panoramic image. You can explore it in the browser and download an SPZ file. The appearance of unseen areas depends on the model and the evidence in your source photos.
Yes. Open your saved result during a design meeting to discuss the visual concept from different angles. Present the scene alongside its source images so viewers understand what was photographed and what AI inferred. Check dimensions independently before making purchasing, construction or renovation decisions.
No special camera or manual 3D modeling is required. Clear JPG or PNG photos are enough to start. A 3D home walkthrough works best when the inputs describe one consistent space. You can add optional instructions, but photos remain the main visual evidence.
AI can infer or alter unseen furniture, surfaces and geometry. Use your 3D house tour to explore and communicate a visual idea, then check the original property and measured plans for factual details. This workflow is especially useful early in a design discussion, before technical validation.
Bring your room photos together and create a 3D house tour you can explore at your own pace. Start with Basic, or choose Pro when you want the higher-quality model.