
AI architecture rendering from screenshots
Bring an exported view from SketchUp, Rhino or Revit. Start with an image you can inspect and crop, without importing a native model file.
Your design. A new perspective.
AI architectural rendering for architects: turn SketchUp, Rhino or Revit screenshots into photorealistic renders. Explore materials & lighting. Free preview.
For architects, design studios and architecture students
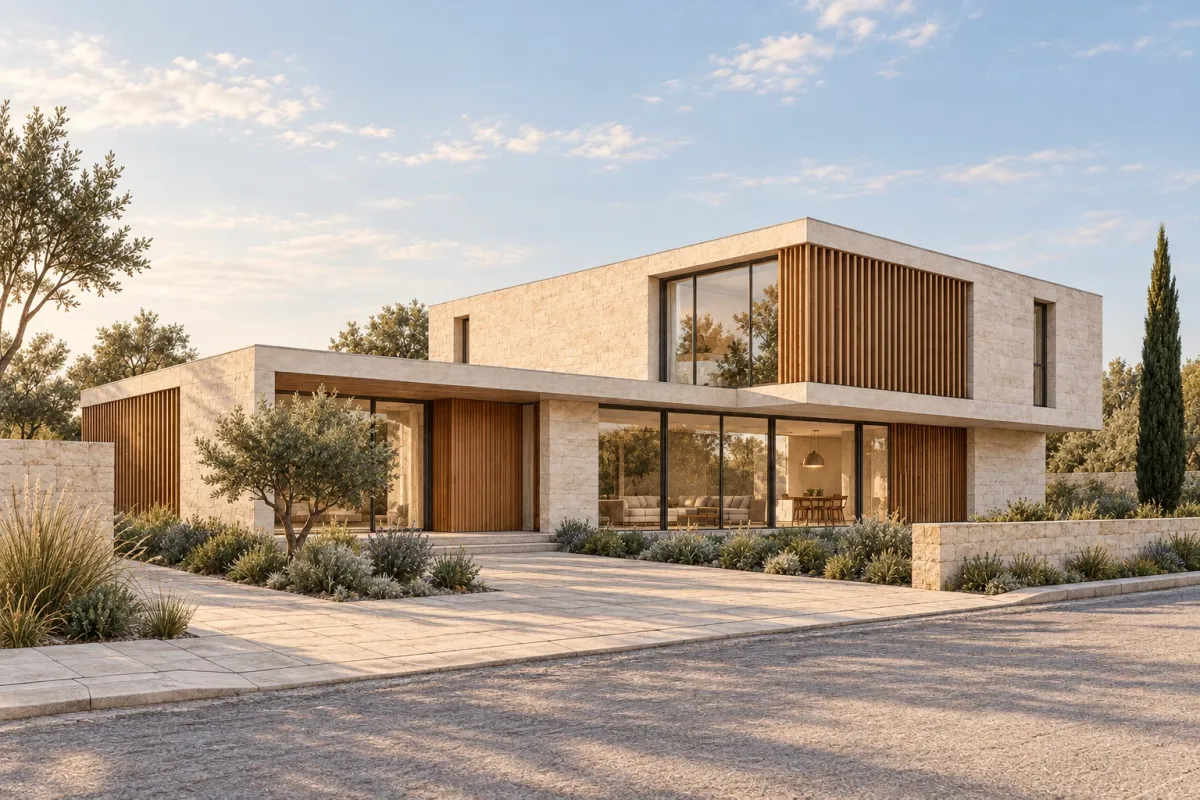
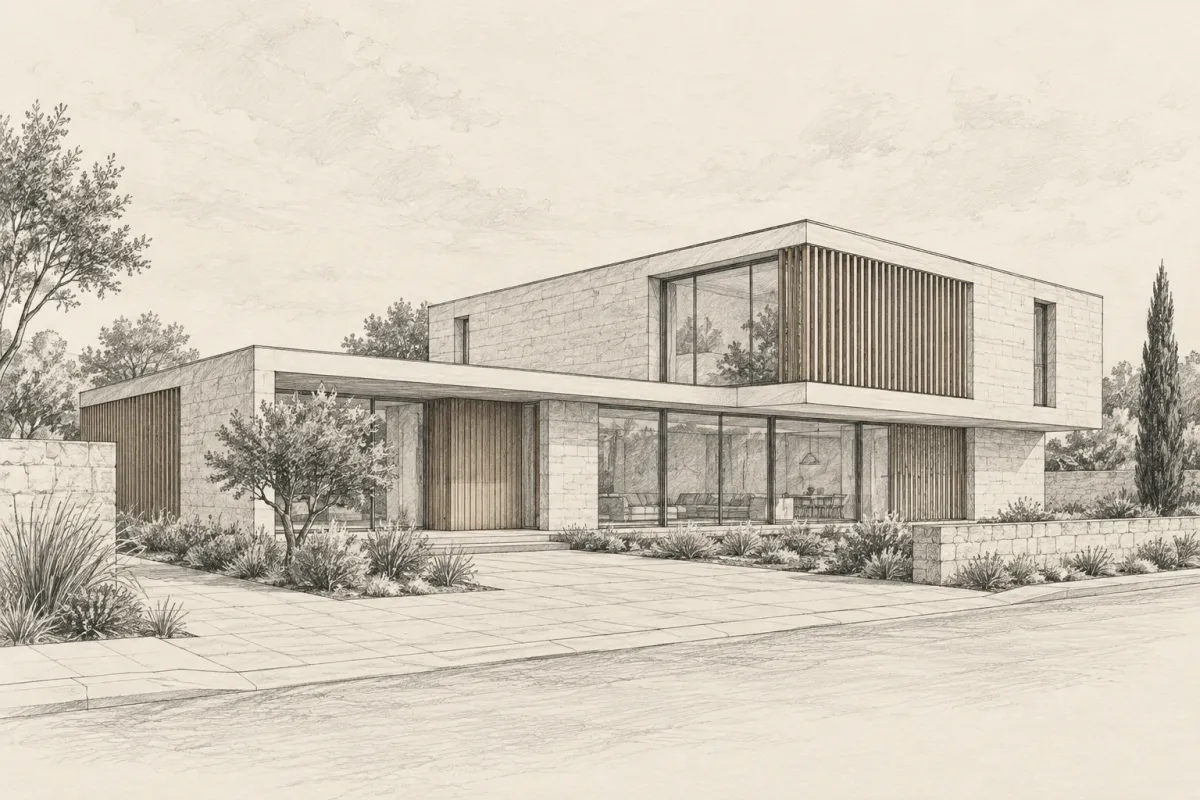
Drag or use the arrow keys to compare the sketch and render.
Use AI architectural rendering to turn a clear design image into material and lighting alternatives. Keep your source beside each concept as you decide what to develop in your model.
Bring an exported view from SketchUp, Rhino or Revit. Start with an image you can inspect and crop, without importing a native model file.
Choose architecture, interior, landscape or planning. Each scene offers relevant project types and visual presets, while keeping your uploaded image available.
Explore facade materials, surface finishes and different lighting moods. Use the available controls to describe the atmosphere you want to investigate.
Pick a look or add a separate style reference. The reference guides materials and mood; the source image supplies the design and camera view.
Prioritize the original form and composition while exploring finishes. Compare the result with your source to check openings, rooflines and other design details.
Choose a concept and compare it against its submitted input. Switch between successful concepts before selecting the direction you want to develop.
Select a region and describe a material or lighting adjustment. The edit creates a new image; review the surrounding areas as well.
Enlarge the selected result to inspect details and download it for your review or presentation. Saved records keep the input and settings together.
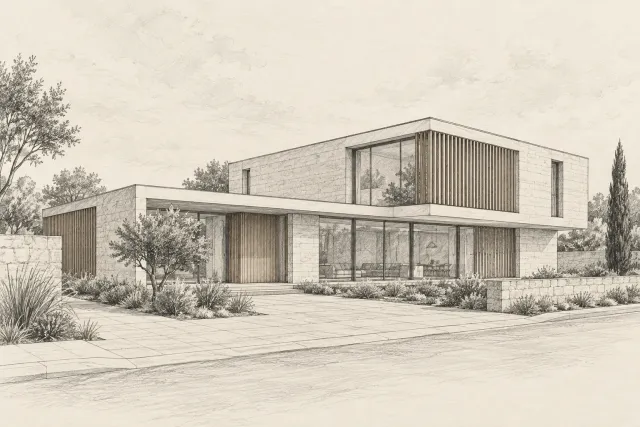
01
Start AI architectural rendering with a single perspective from your model or a legible sketch. Remove software toolbars and selection outlines. Keep the complete building silhouette and important openings visible, then upload the image and confirm any crop.
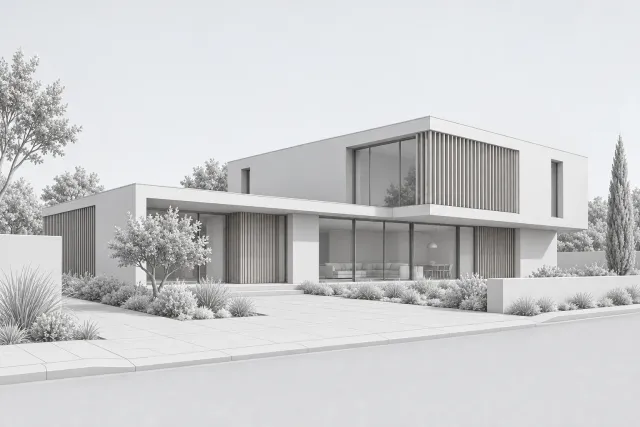
02
Choose the scene, rendering mode and visual style. Add an optional image to guide materials and mood. Preserve design prioritizes the source form and camera view. Select a model and image count, then review the displayed credit total before generating.
03
Compare each concept with the submitted image in Before / After. Enlarge details, request a local edit or adjust settings for another generation. Download the selected image; History keeps your source, settings and results together.
Try the comparison · No sign-in
AI architectural rendering lets you explore a visual direction from a screenshot, without installing a rendering plugin or rebuilding a scene. Keep your source close as you review materials and light.
Slide between a neutral model view and its finished render. Compare the same facade and viewpoint as stone, timber and daylight bring the design to life.
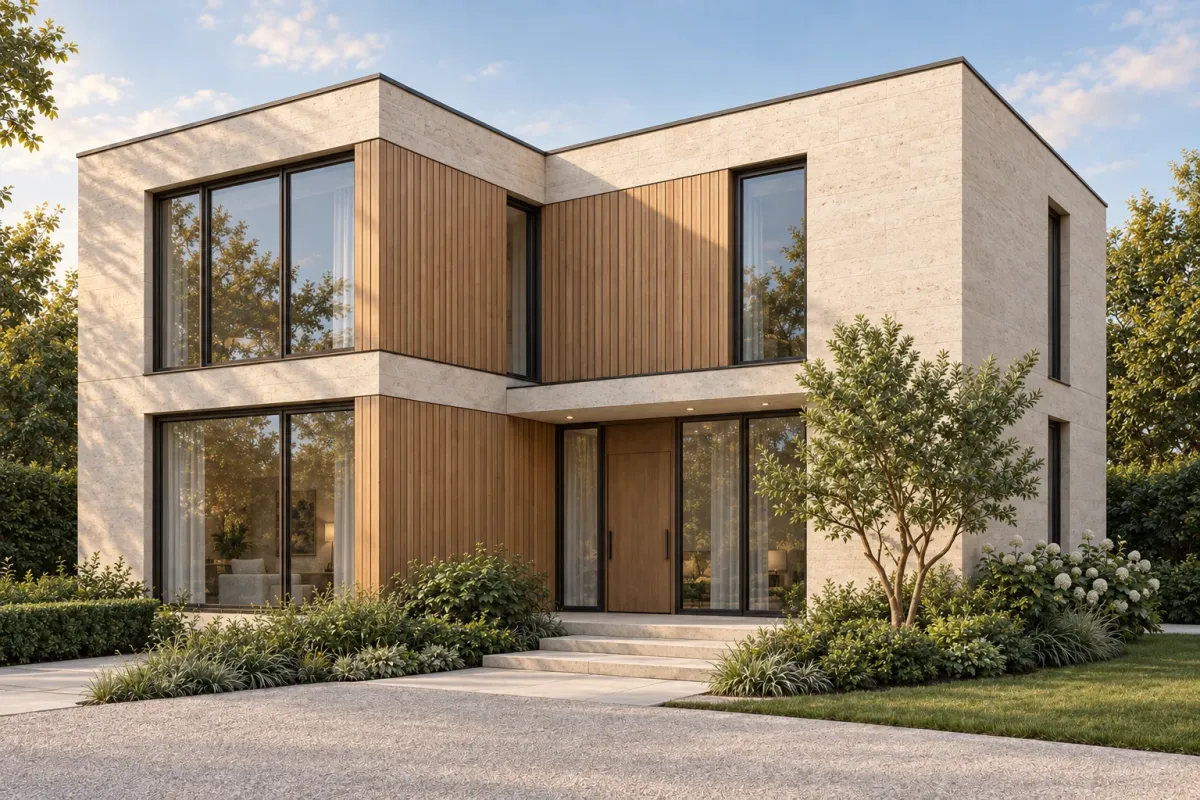
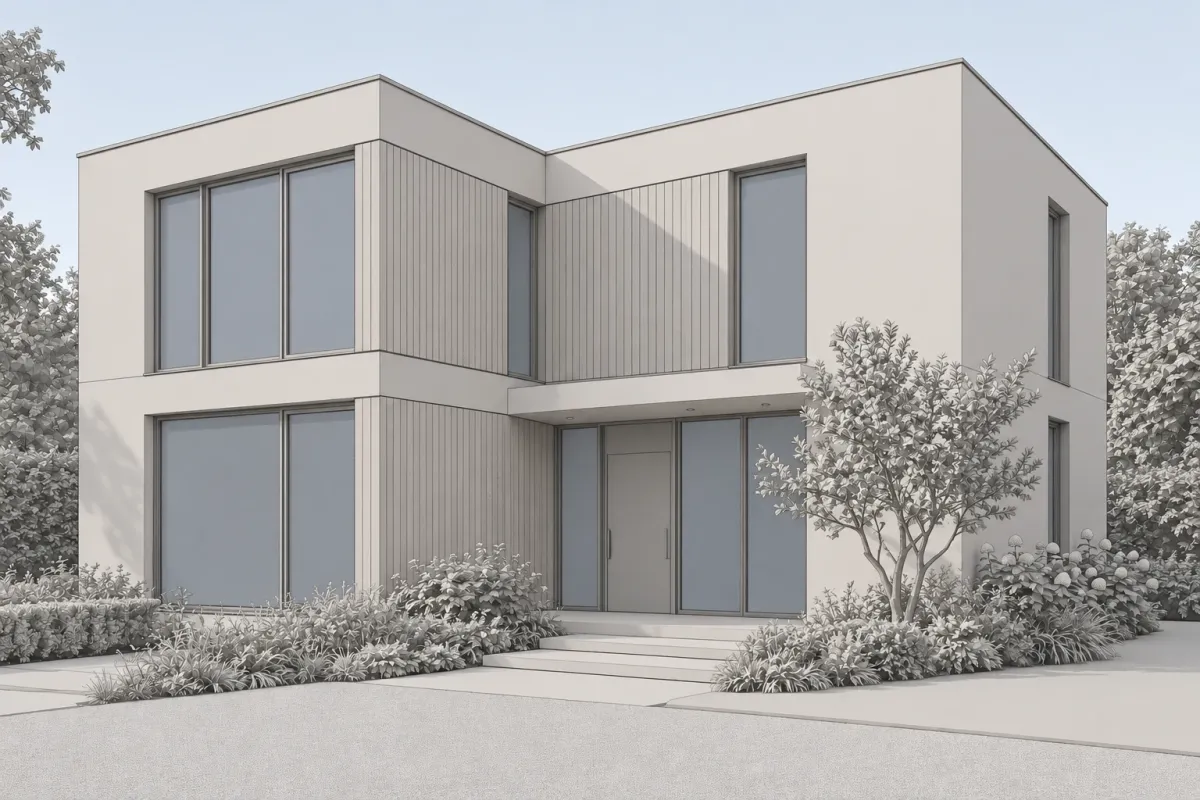
Drag to compare the input and AI render.
Use a view you already have instead of preparing a complete rendering scene. This makes an early material conversation easier to start, even when your model is still developing.
A source image and Preserve design mode guide the composition. Unlike an open-ended text brief, you have an explicit visual starting point against which to review every concept.
Switch between concepts and compare each against the input before committing to a look. Keep design intent, material preferences and possible AI changes visible during the discussion.
Request a focused edit to explore a surface or light condition. Each edit is a new result, so you can review the revision while retaining the original record.
The output is an image, not an editable SKP, RVT or 3DM file. Keep accurate dimensions, construction information and model revisions in your usual design workflow.
Prepare review alternatives, portfolio studies and early client conversations. Retain your source work, select images thoughtfully and explain where AI contributed to the presentation.
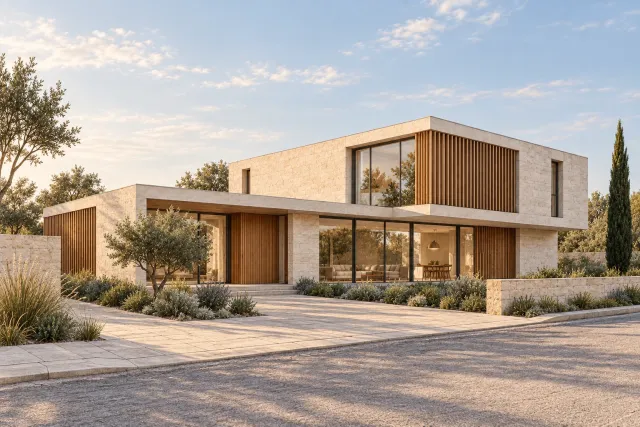
Use AI architectural rendering at the scale of your project. These AI-created exterior studies explore facades, courtyards, landscape and planning; interior scenes have their own presets in the workspace.
Study the relationship between stone, timber, glazing and sunlight. Use the original view to check that a material choice still supports the massing and proportions you designed.
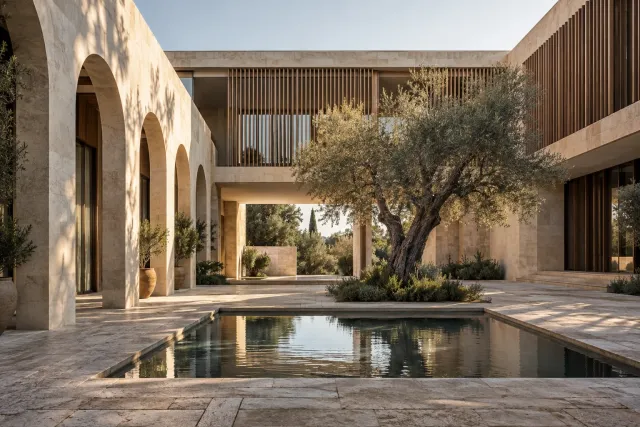
Explore the threshold between architecture and an open-air courtyard. Light, shade and surface changes help explain how the building encloses an outdoor space.
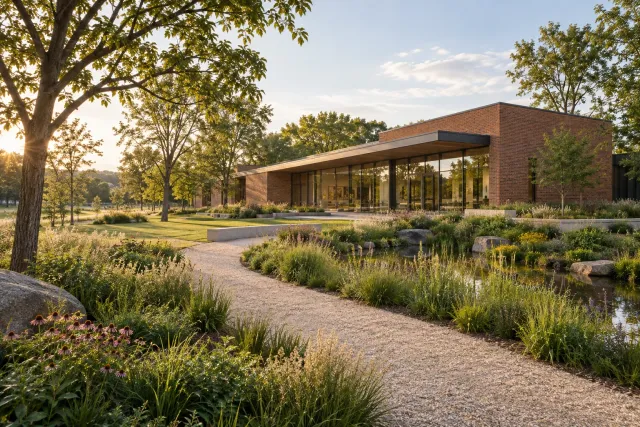
Bring building edges, paths and planting into the same conversation. Review outdoor atmosphere alongside the architecture before developing detailed landscape or planting documentation.
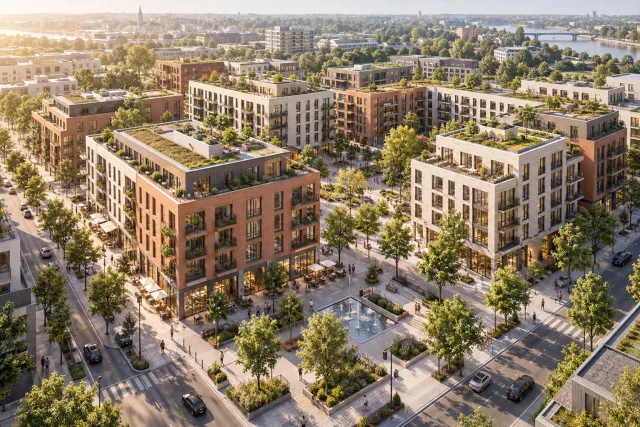
Use an aerial view to discuss blocks, streets and shared outdoor spaces. Keep the original site model as the reference for scale, access and project boundaries.
AI architectural rendering starts with a clear view from the design software you already use.
Export a clean JPG, PNG or WebP with the whole design in view. Hide toolbars and selection outlines.
Upload the screenshot to try a new visual direction. No plugin or full project transfer is needed.
Your editable file stays in SketchUp, Rhino or Revit. Compare the source and your chosen render side by side.
Starting with a layout? Explore floor plan to 3D conversion. For colors and furnishings, try AI interior design from a room photo.
A short review helps you present an AI render with confidence. Start with the overall form, then look closer.
Compare the roofline, floor count, openings and proportions with your original view.
Inspect material edges, shadows and planting. After a local edit, check the surrounding image too.
Use your model for dimensions and construction decisions. Explain how AI contributed to the visualization.
Your design. A new perspective.
Bring a clear model view to AI architectural rendering. Choose your settings, check the credit cost and compare the concepts you generate.
Start rendering