
How to Use a Free Floor Plan Creator — A Complete Guide
A practical guide to creating floor plans online — from your first measurement to a finished 3D room. No CAD experience required.
Try the Free Floor Plan CreatorYour plan in five moves
- 01Measure
- 02Draw
- 03Label
- 04Furnish
- 05Export
The basics
What Is a Free Floor Plan Creator?
A free floor plan creator is a browser-based tool for turning real room measurements into a clear, scaled 2D layout. Instead of learning drafting software, you draw walls, place doors and windows, label dimensions, and arrange furniture through familiar controls. A good online floor plan tool keeps the geometry connected as you edit, so changing one wall or opening does not mean redrawing the entire room. It also lets you test several layouts before moving anything heavy, ordering materials, or committing to construction.
Start with a blank canvas when you know the exact shape of your space, or use a template to learn the controls and adapt a common room. The resulting plan becomes a shared reference for circulation, furniture scale, and conversations with clients, contractors, or family members. Because it runs online, you can return to the same project without installing CAD software and export a clean image when you are ready to review it.
Interior designers
Block out a client room, compare furniture arrangements, and communicate dimensions before detailed design work begins.
Homeowners planning a renovation
Check whether new furniture, storage, or a changed doorway will work before spending money or moving walls.
Real estate agents
Create a readable property layout that helps buyers understand room relationships and usable space.
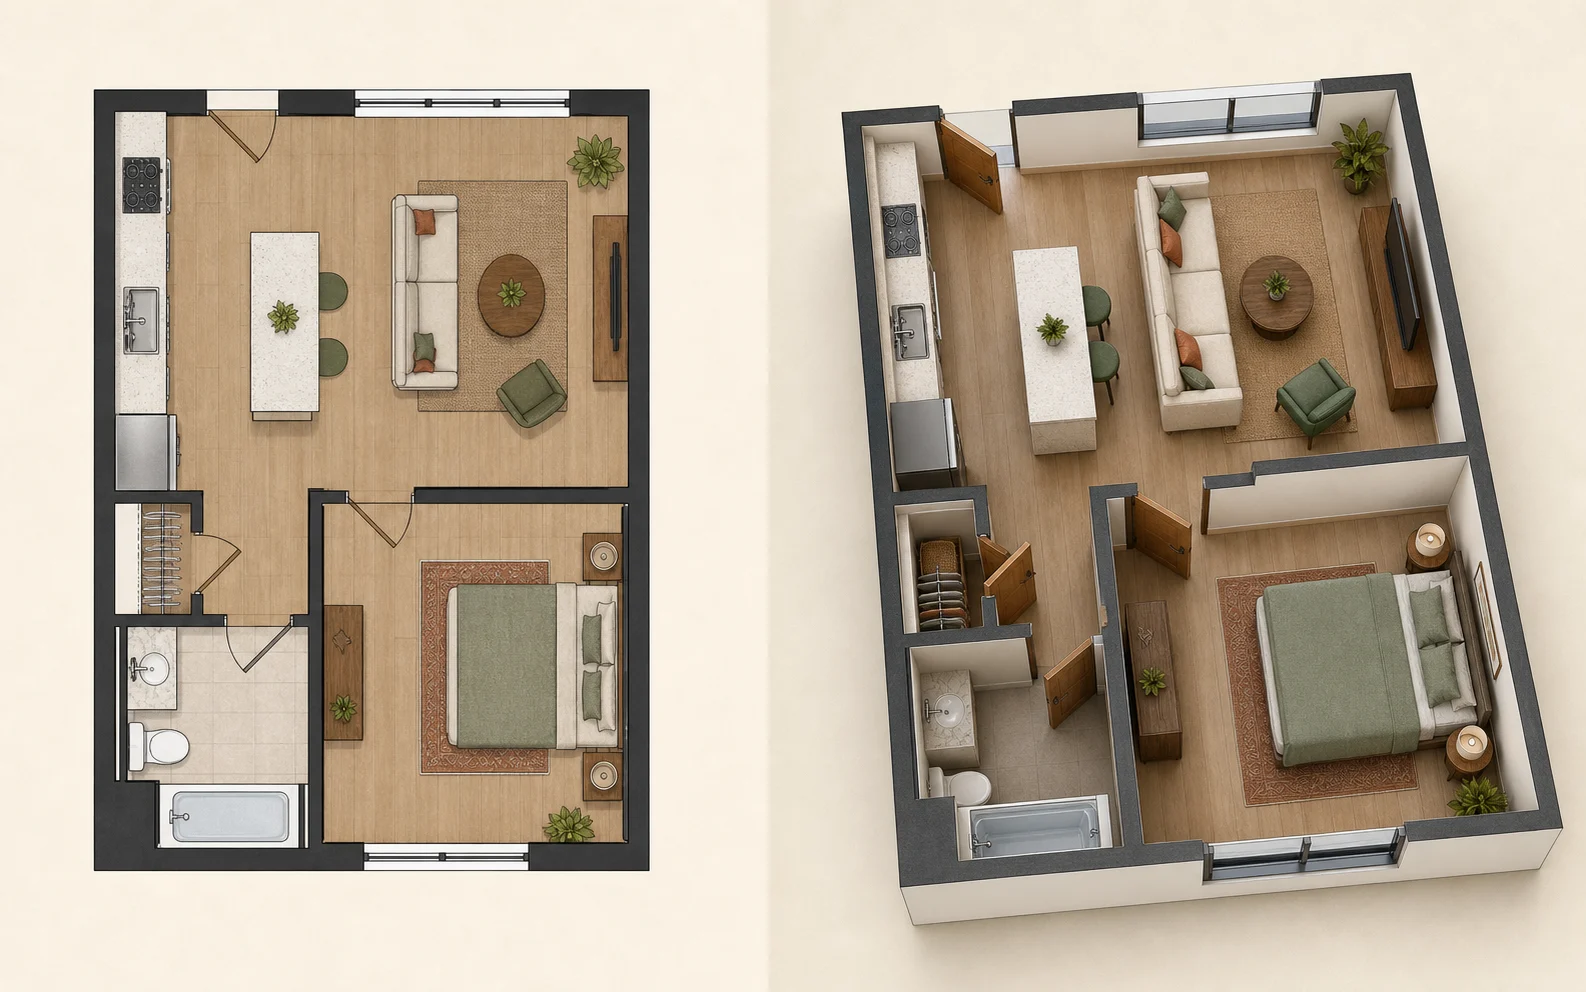
Unlike most tools that stop at 2D, ours turns your floor plan into an interactive 3D room.
Before you draw
Before You Start — Measurements and Preparation
A reliable layout begins in the room, not on the canvas. Gather the essentials, record each measurement once, and keep the sketch readable. If you already have a drawing to upload, follow our companion guide on preparing a floor plan for 3D conversion.
Tools You'll Need
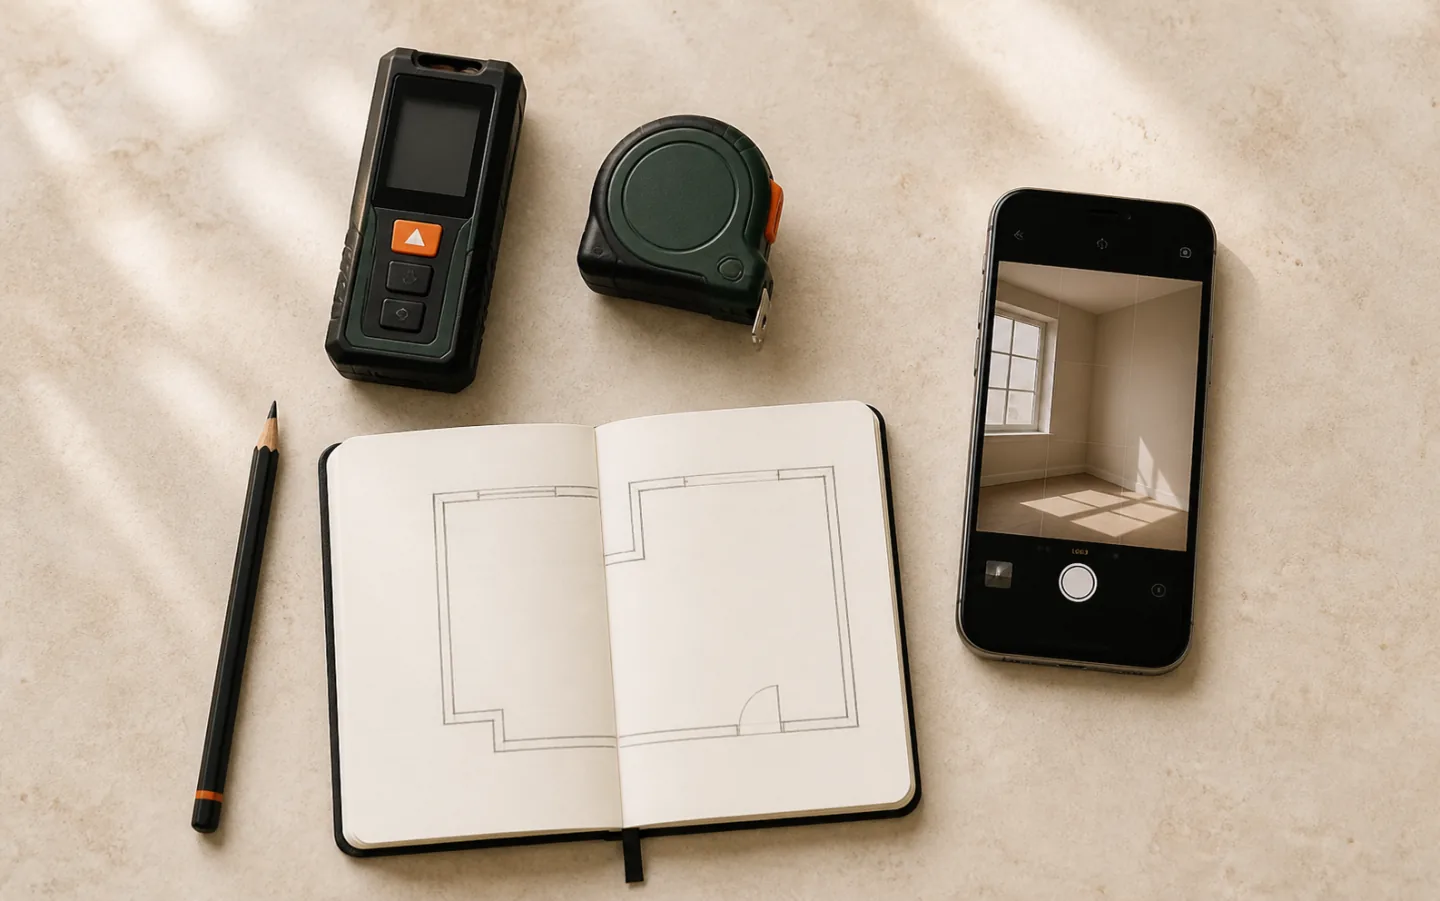
Use a tape measure for ordinary rooms or a laser distance meter for faster wall-to-wall readings. Bring paper and a pencil for a rough sketch, plus your phone for reference photos of openings, radiators, built-ins, and awkward corners. A calculator is useful, but clear notes matter more than special equipment. Mark the measurement unit at the top of the page and use it consistently.
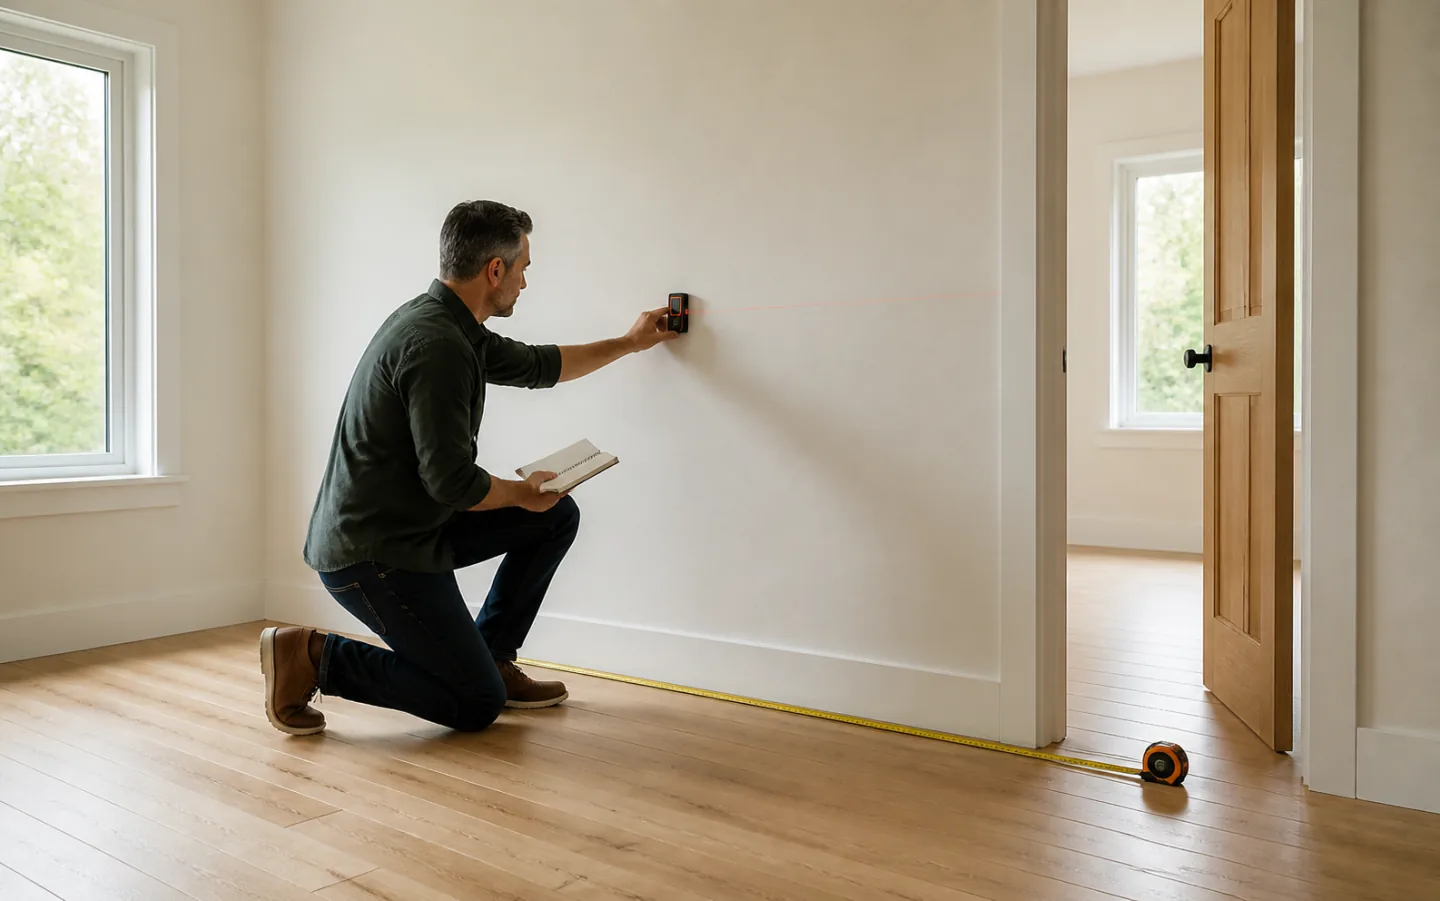
How to Measure a Room Accurately
Work clockwise from one corner and record every wall segment, including recesses and columns. Measure doors and windows from the nearest corner, then note each opening's width and a door's swing direction. Record ceiling height and the height of window sills when they affect furniture or finishes. Take the same overall width in two places when possible; a mismatch often reveals a missed offset or angled wall.
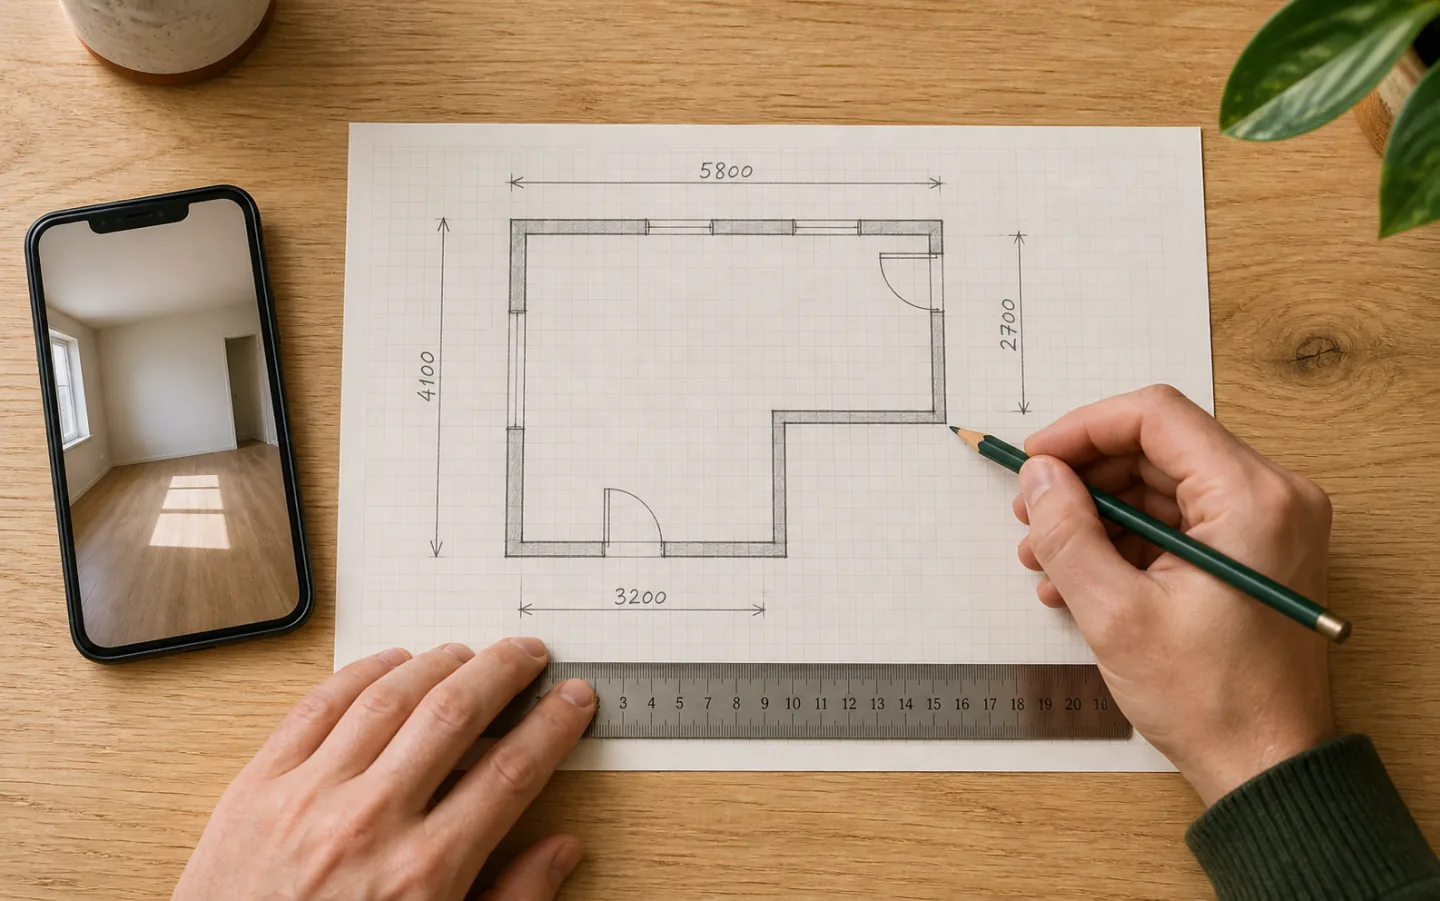
Sketch a Rough Floor Plan on Paper
Draw the room shape first without worrying about scale, then add doors, windows, fixed fixtures, and unusual wall angles. Write each dimension beside the line it describes and use arrows when space is tight. Number your photos on the sketch so you can match each image to a wall later. This rough map is not the final plan; it is a complete field note that prevents guesswork once you open the room layout maker.
Step by step
Create Your Floor Plan Online
With your measurements nearby, use these five steps to turn the rough sketch into a clean plan you can review, export, and continue in 3D.
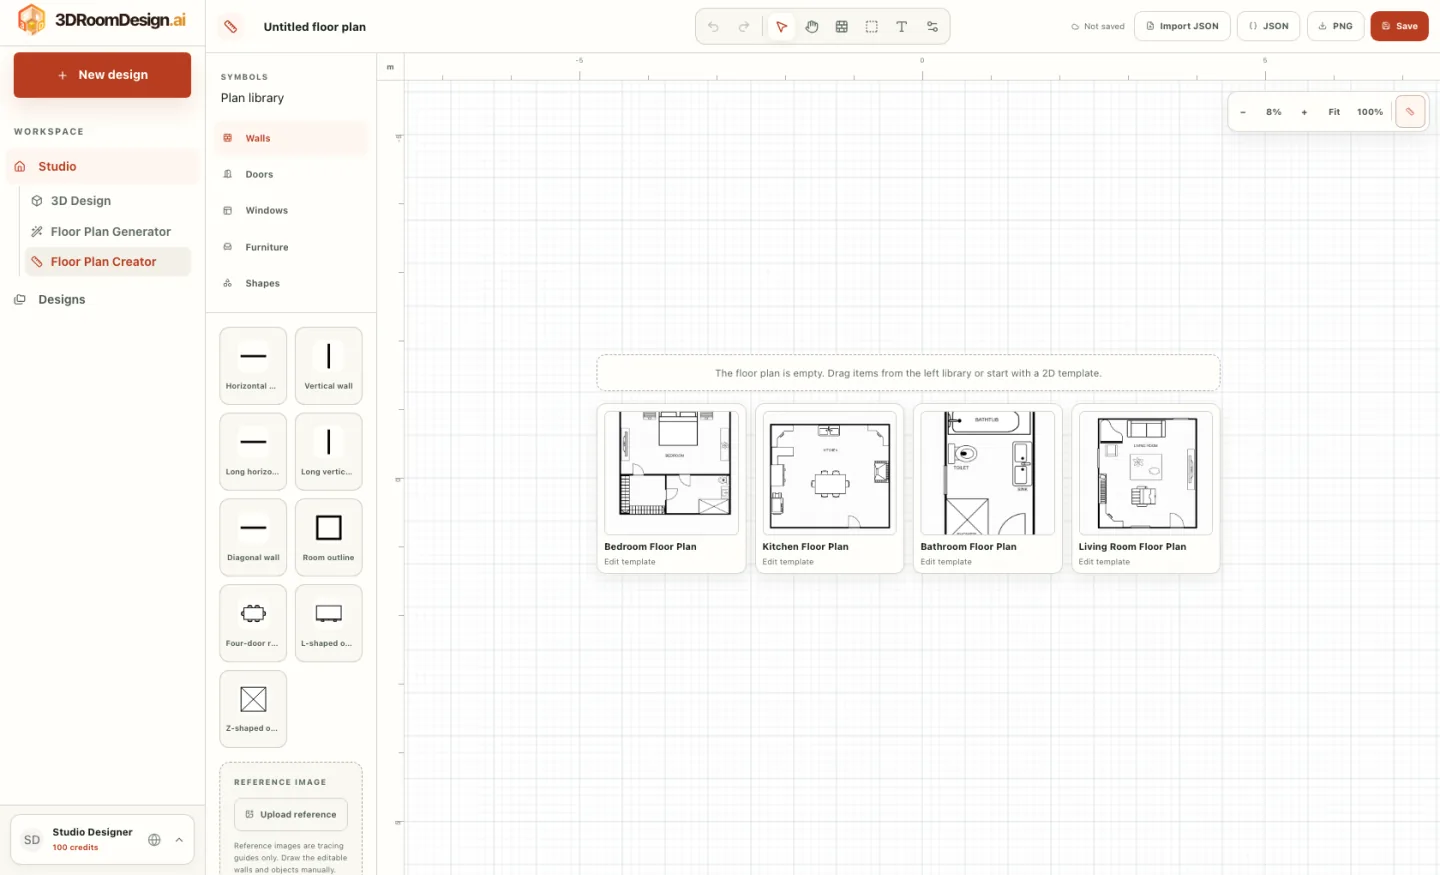
1. Choose a Template or Start Blank
Open the free floor plan creator and decide whether a template matches the room you are planning. Templates are helpful for learning the controls or starting from a familiar bedroom, kitchen, bathroom, or living-room arrangement. Choose a blank canvas when the outline is unusual or your measurements need to define every wall. Before drawing details, confirm the measurement unit and identify the longest wall; it will be your scale anchor. Treat the template as a head start, not a fixed design—delete, move, or resize anything that does not match the room.
Start with the room boundary. Furniture is easier to judge after the shell is accurate.
2. Draw Walls, Doors, and Windows
Trace the exterior walls first, working in the same clockwise order as your notes. Enter exact lengths as you go and close the room boundary before adding interior partitions. Place each door and window on its measured wall, using the offset from the nearest corner rather than judging by eye. Set door width and swing direction, and check that windows are on the correct side of the room. Zoom in at corners to remove small gaps or overlaps, then zoom out to confirm that the overall shape still matches your paper sketch.
A closed wall outline makes room area, circulation, and the later 3D conversion more dependable.
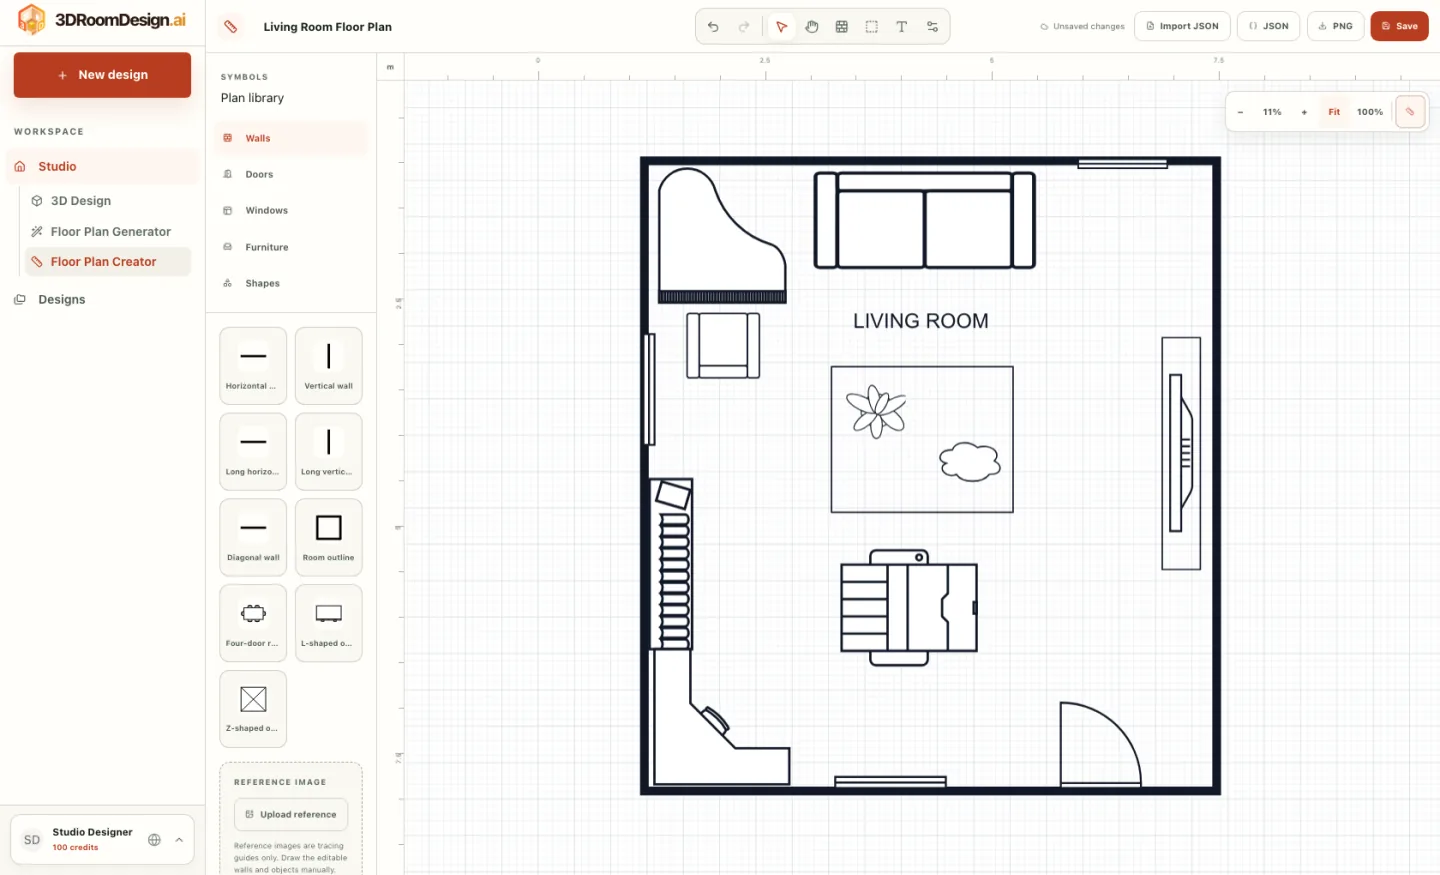
3. Add Dimensions and Room Labels
Add the measurements someone else would need to understand and verify the plan: overall room width and length, important wall segments, opening widths, and clearances around fixed features. Keep dimension lines outside busy areas so they do not overlap doors or furniture. Name each room with a short, familiar label and include ceiling height in a note when it matters. Finally, compare one digital dimension with your original measurement. If it differs, correct the geometry now rather than allowing a small scale error to affect every object you place later.
Use one unit throughout the project and include it wherever an exported image could be ambiguous.
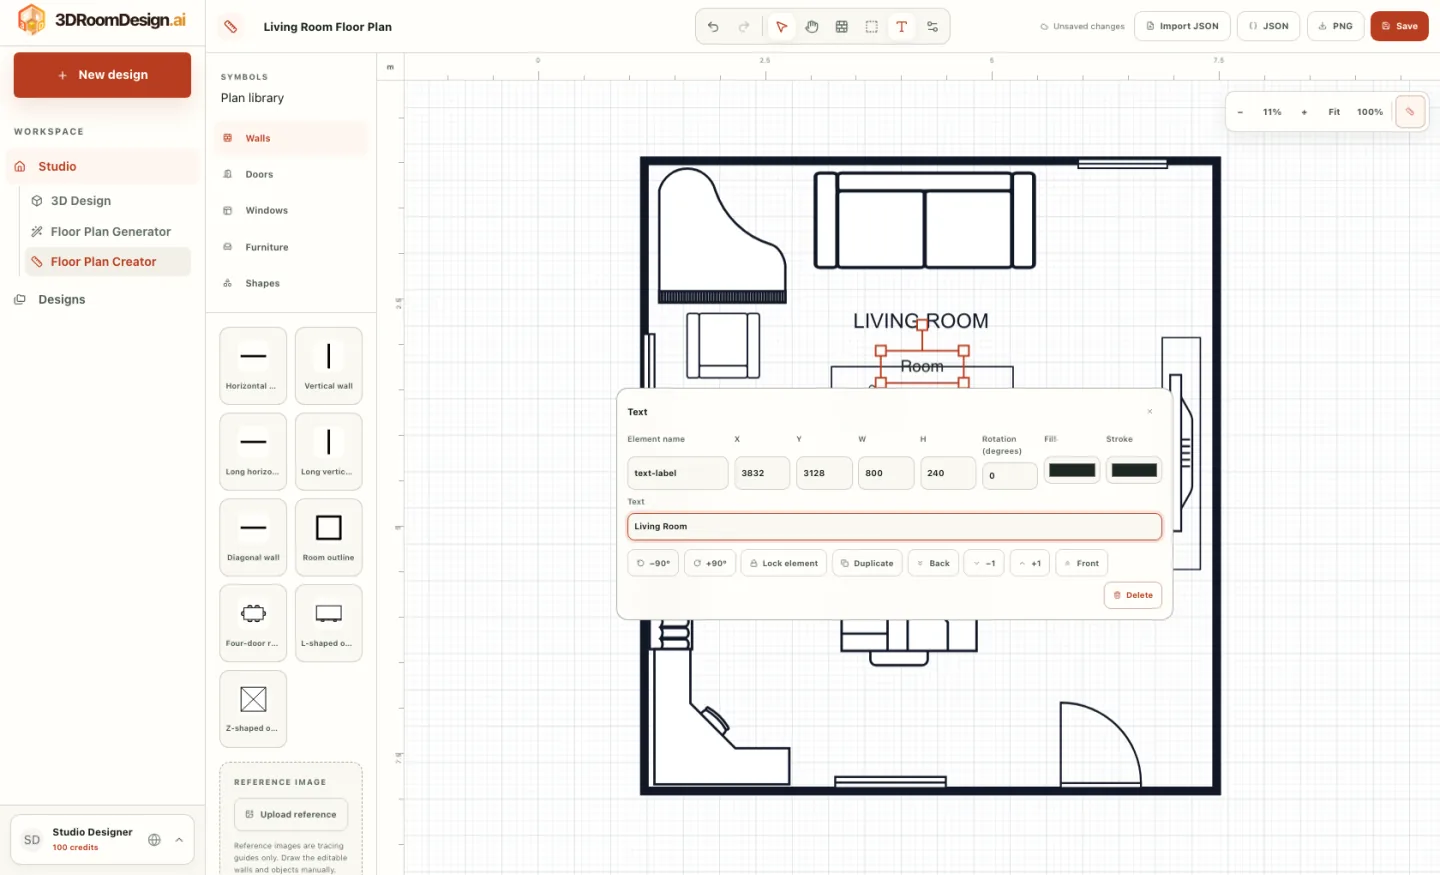
4. Place Furniture and Fixtures
Add fixed elements such as cabinets, sanitary fixtures, radiators, and built-in storage before movable furniture. Then place sofas, beds, tables, desks, and chairs using their real product dimensions whenever available. Rotate items and test alternatives, but keep door swings, drawers, and cabinet fronts unobstructed. Leave at least 90 cm for primary walkways and enough space to pull out chairs comfortably. A room can look balanced from above while still being difficult to use, so trace the path people will actually take from each entrance to the main activity areas.
Save promising variations before rearranging the whole room, so comparisons stay easy.
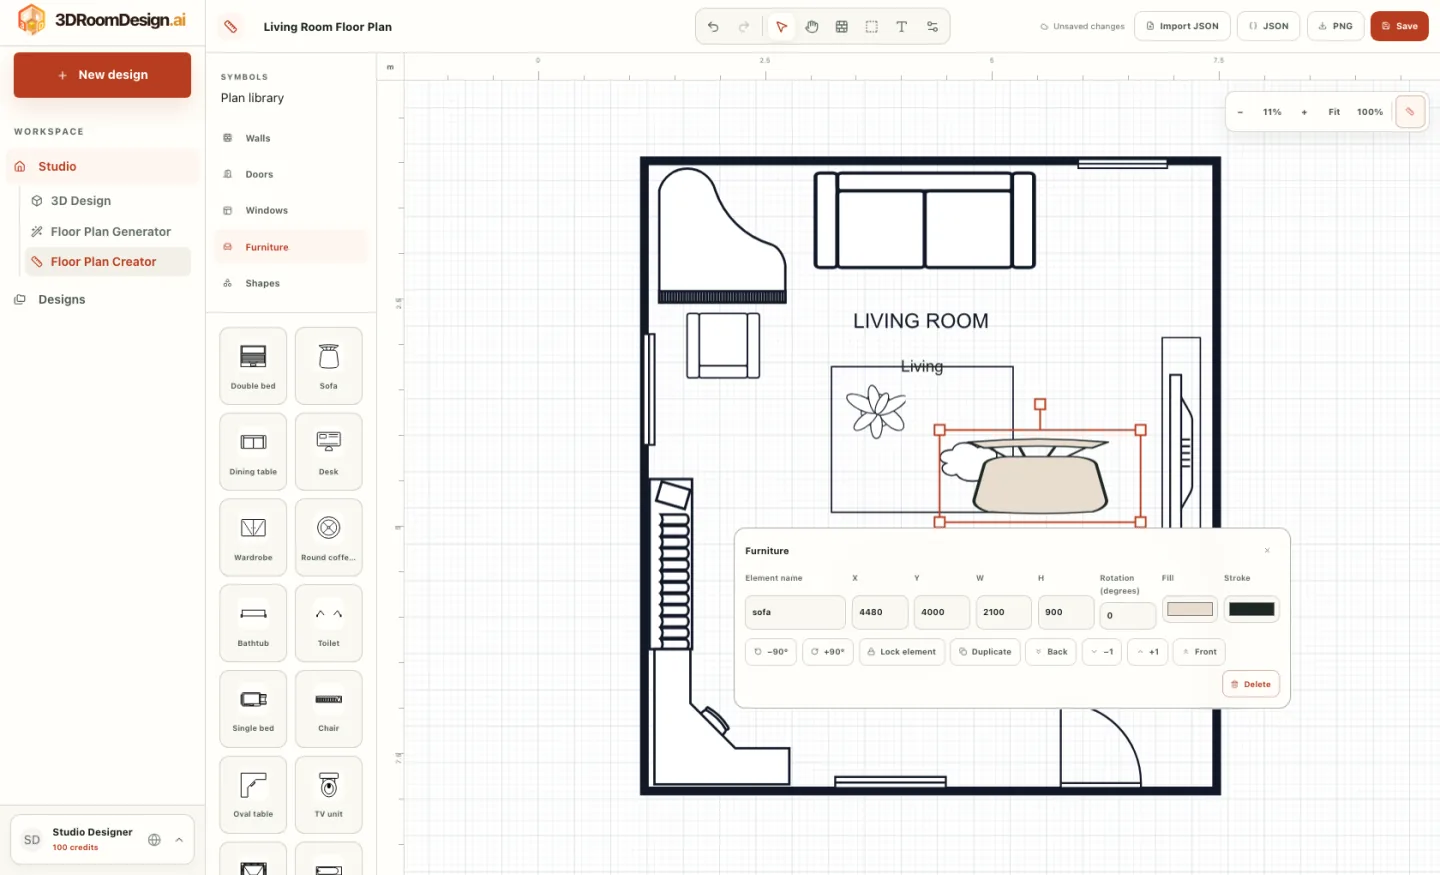
5. Save and Export Your Floor Plan
Review the complete plan at two zoom levels: close enough to catch disconnected lines and wide enough to judge the full layout. Confirm that dimensions, labels, doors, windows, fixtures, and furniture are readable and that nothing important sits outside the export area. Save the editable project before downloading a clean PNG for presentations, feedback, or the next stage of your workflow. Use a descriptive project name and keep the exported image at its original proportions. If you plan to build a 3D room, avoid cropping the outer walls or removing scale references.
Open the exported PNG once before sharing it to make sure text and line work remain sharp.
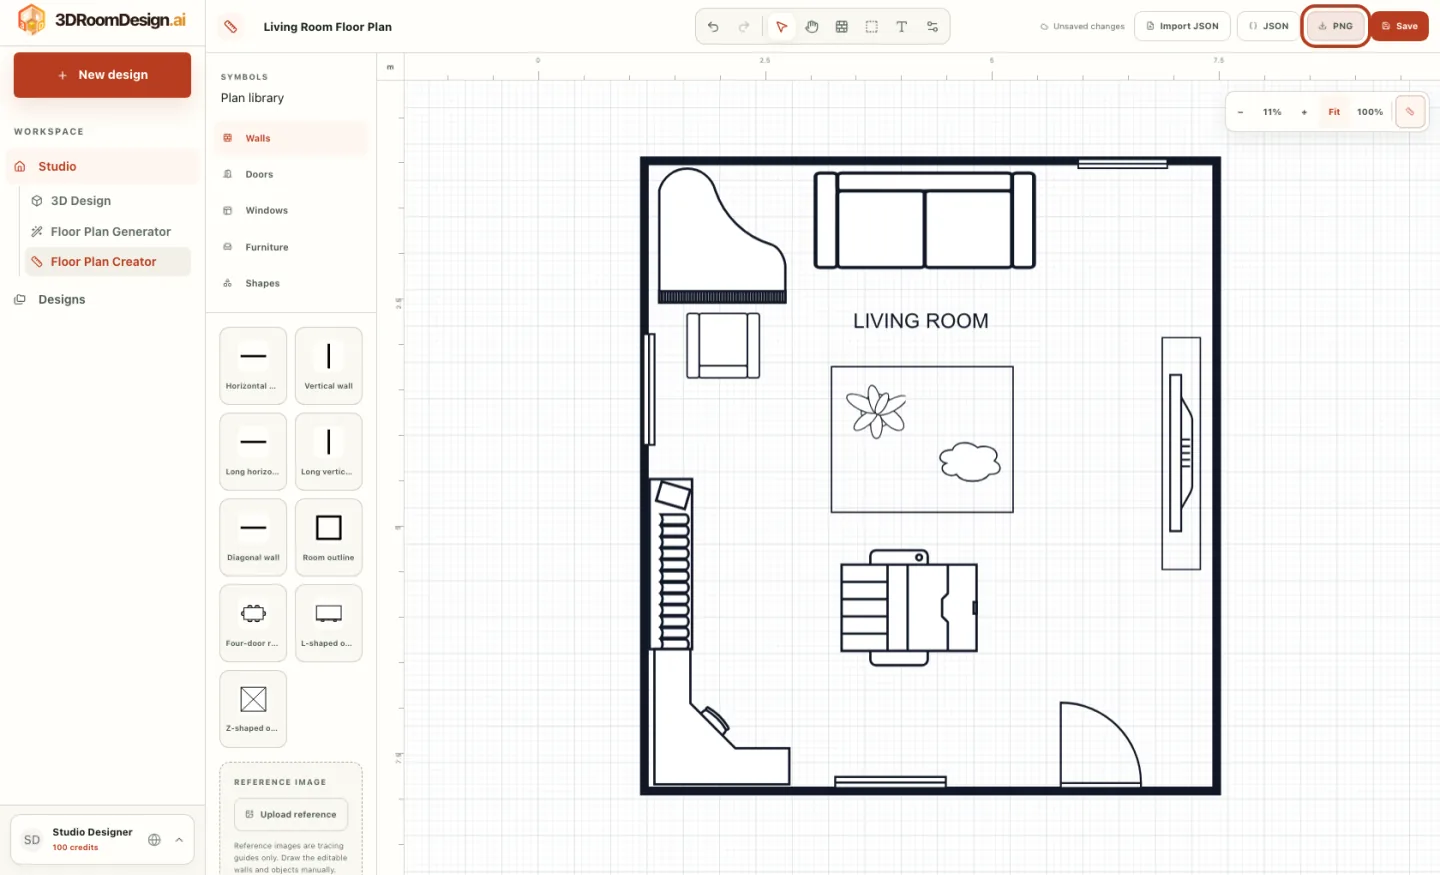
The 3DRoomDesign.ai difference
From 2D Floor Plan to 3D Room Design
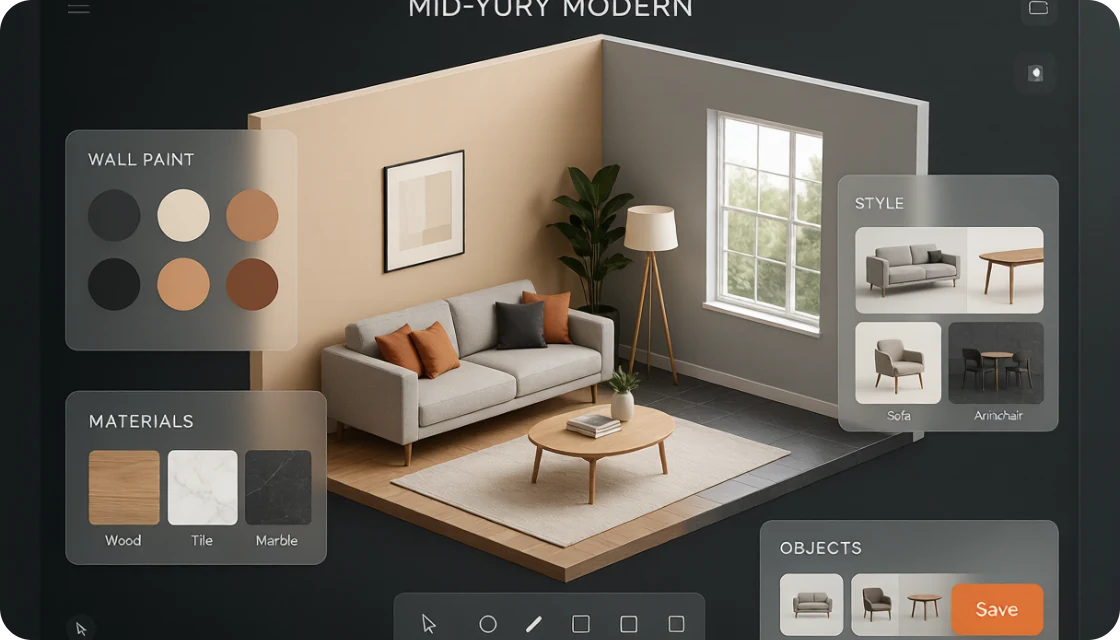
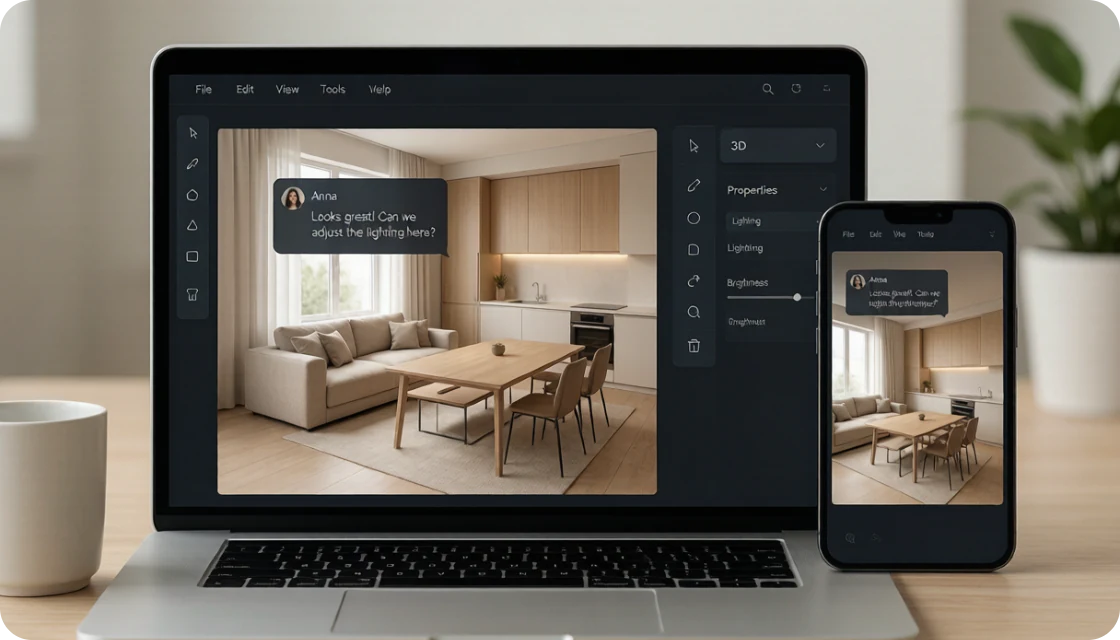
Your exported PNG does not have to be the end of the process. Upload it to 3D Design and let AI build an interactive room from the walls, openings, labels, and scale information in your plan. Once the model is ready, refine materials, lighting, and furniture in real time, explore the space from different viewpoints, and share the current design with one link.
- 01
Upload the PNG
Use the clean, full-plan export so the conversion has readable geometry and dimensions.
- 02
Generate the 3D room
AI interprets the plan and creates a navigable model you can inspect from every angle.
- 03
Edit and share
Adjust materials, lighting, and furniture in real time, then send a single review link.
Plan before you move
Common Floor Plan Mistakes — and How to Fix Them
A drawing can be technically neat and still describe a room that is uncomfortable to use. Check these three conflicts before you settle on a layout.
Mistake 01
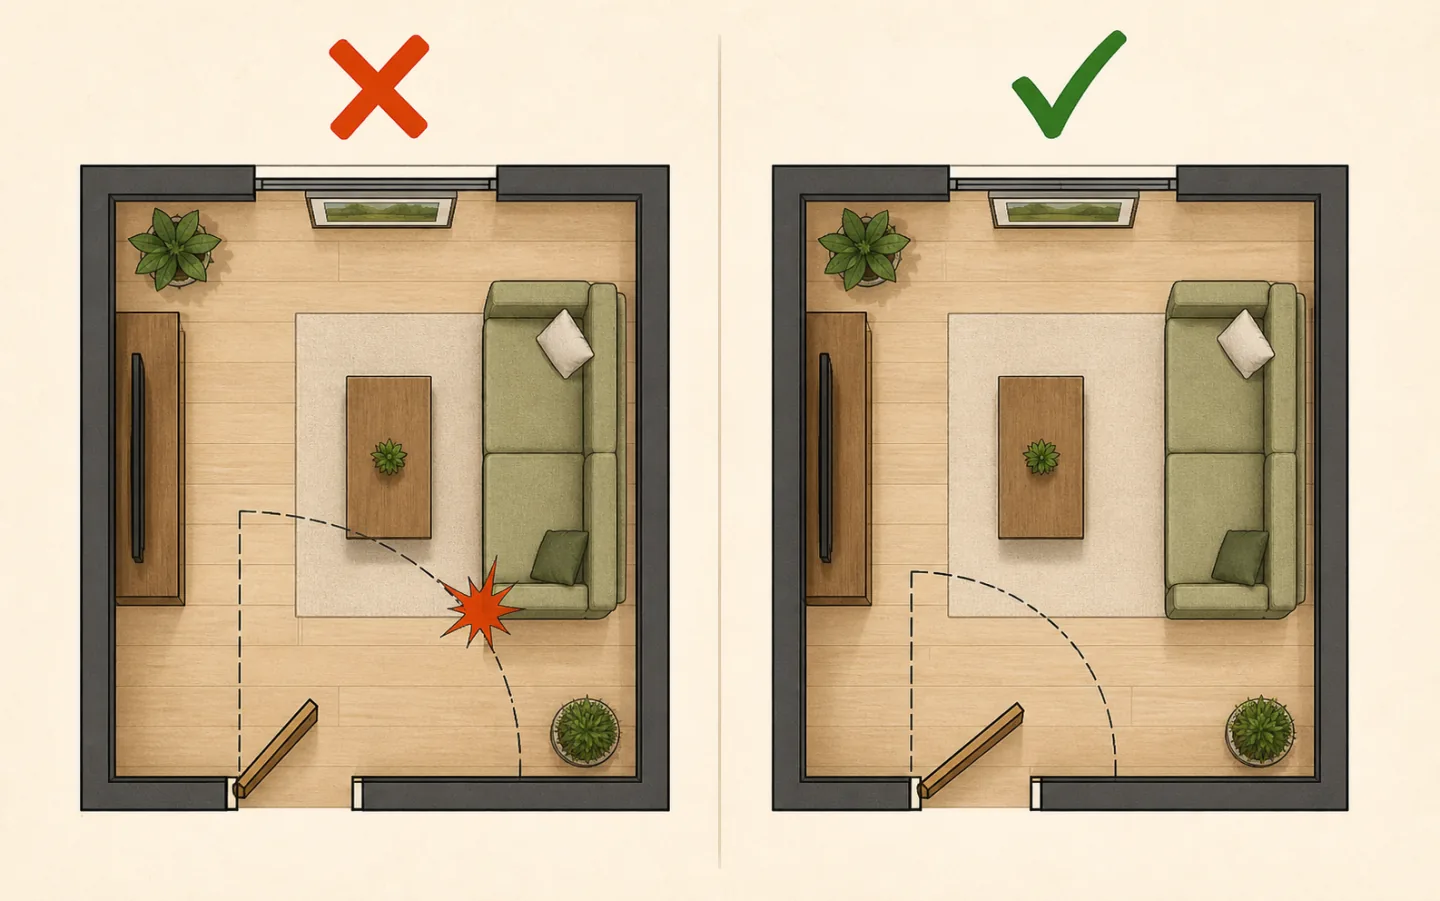
A door swing collides with furniture
- Wrong approach
- Place a cabinet or bed inside the door's arc because the objects do not overlap when the door is shown closed.
- Better approach
- Display the full swing arc, keep it clear, and test the path from the doorway before accepting the furniture position.
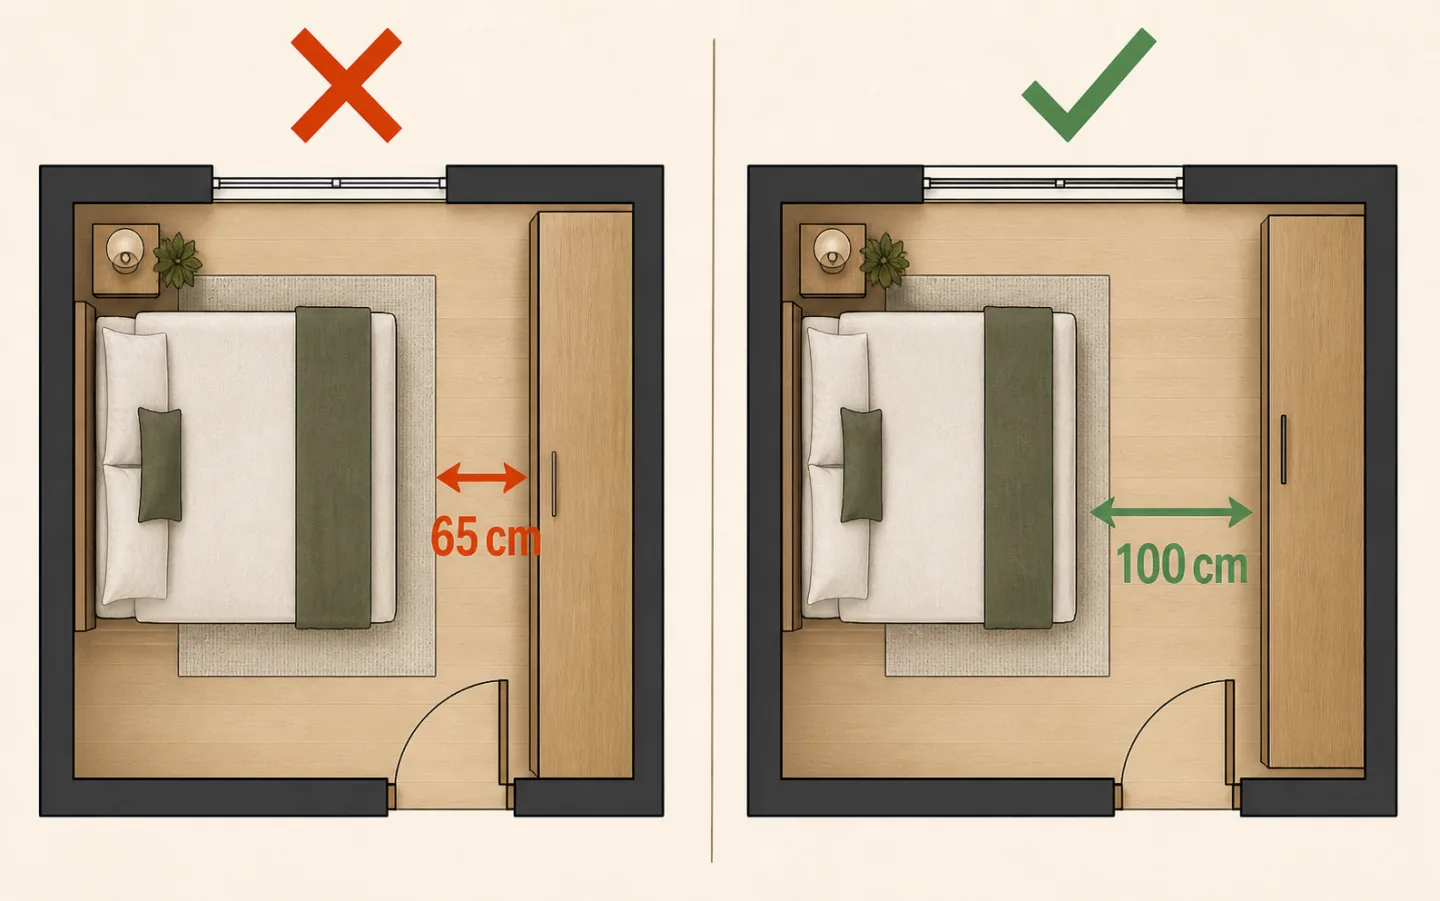
Mistake 02
A main walkway is narrower than 90 cm
- Wrong approach
- Squeeze furniture together to make every item fit, leaving a narrow route through the room.
- Better approach
- Measure the primary circulation path, keep about 90 cm clear, and remove or resize furniture if necessary.
Mistake 03
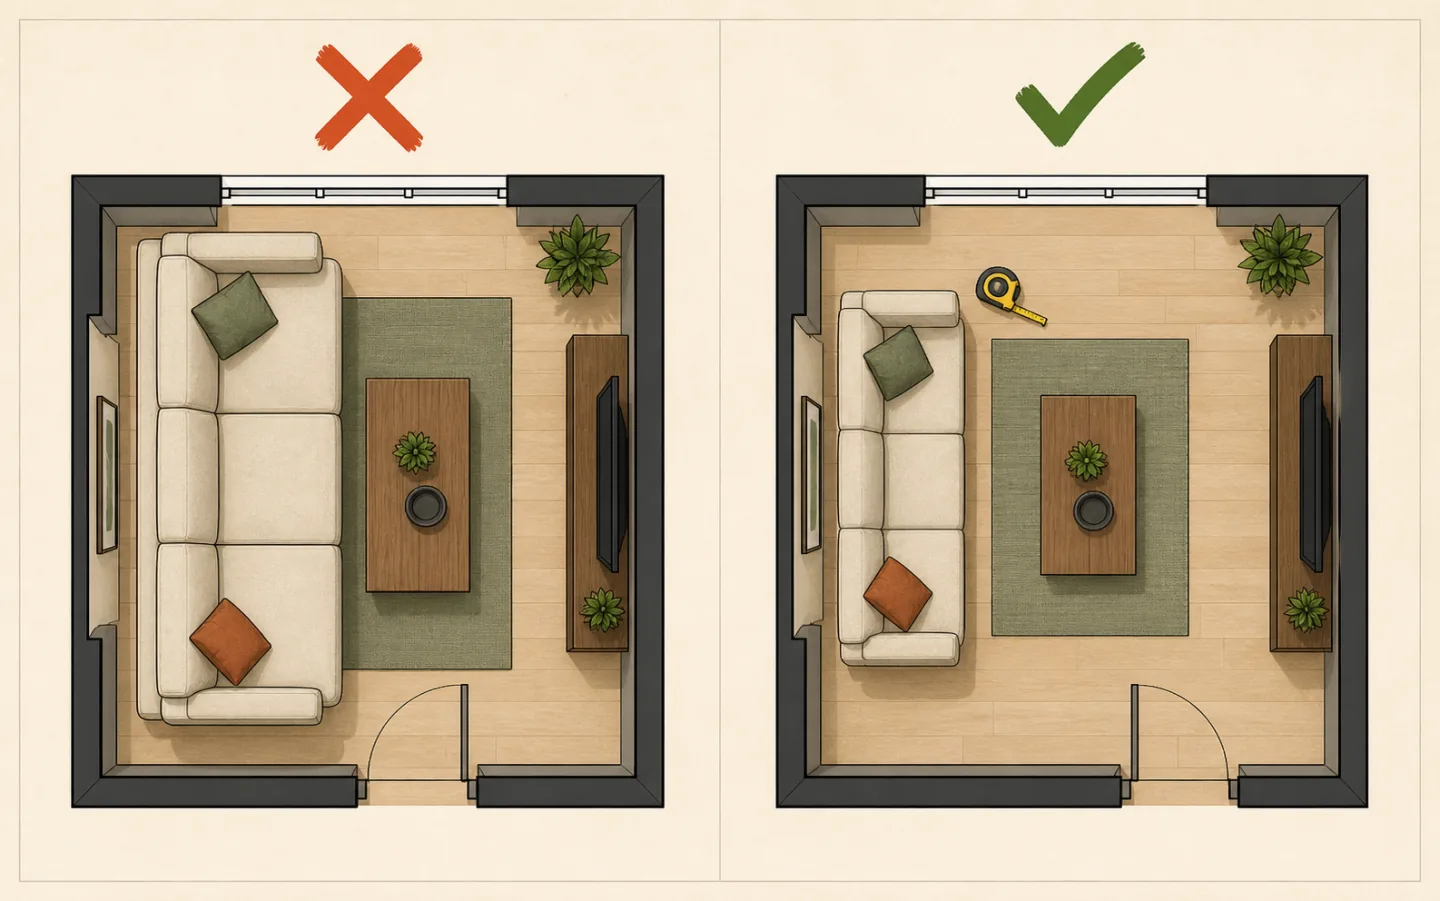
Furniture size is based on guesswork
- Wrong approach
- Choose a generic sofa or table by how it looks in the plan and assume the real product will fit.
- Better approach
- Enter the manufacturer's width, depth, and required clearance, then check the layout again before buying.
FAQ
Free Floor Plan Creator Questions
Quick answers about starting, measuring, exporting, sharing, and moving from a 2D plan into 3D.
Ready when you are
Start your first floor plan — free.
No CAD. No download. Create your floor plan now and turn it into 3D.