
Output
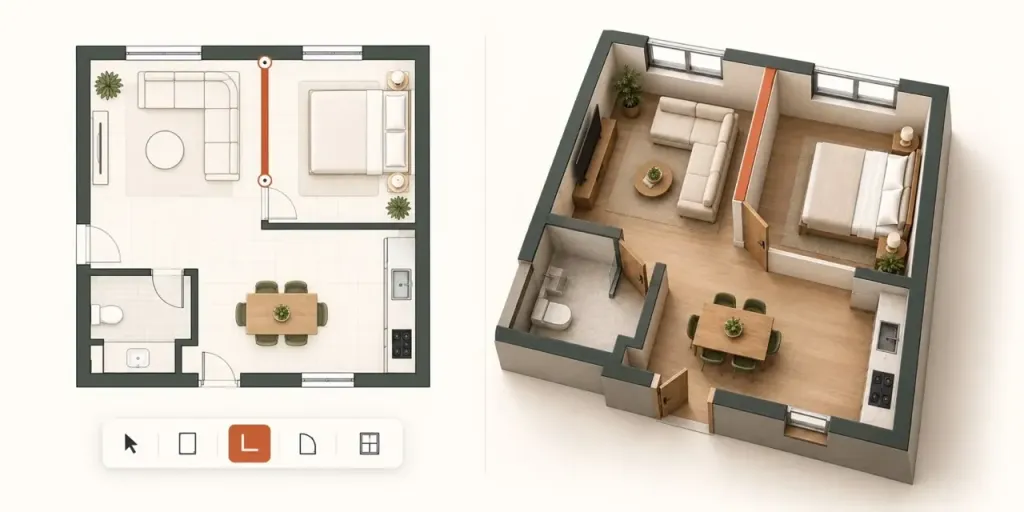
The workspace presents linked 2D and interactive 3D views.
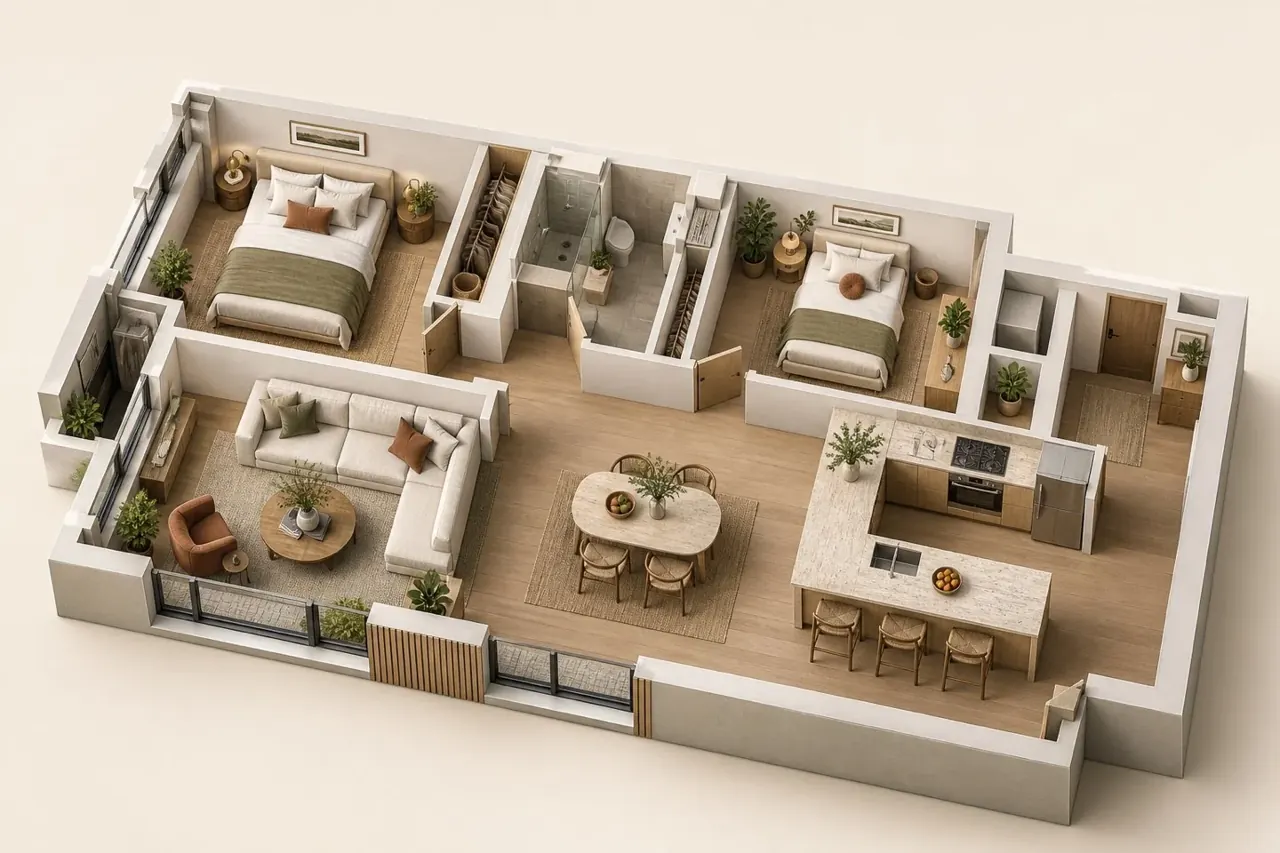
Floor plan workflow
Turn a measured 2D floor plan into an interactive 3D model. Explore room layout, furniture scale, circulation, materials, and lighting in your browser.
$0 to start: 30 credits after first sign-in. No credit card required.
Sign in, then upload your plan.
Interactive preview
Rotate and zoom to compare wall height, furniture scale, and circulation with the original 2D plan.
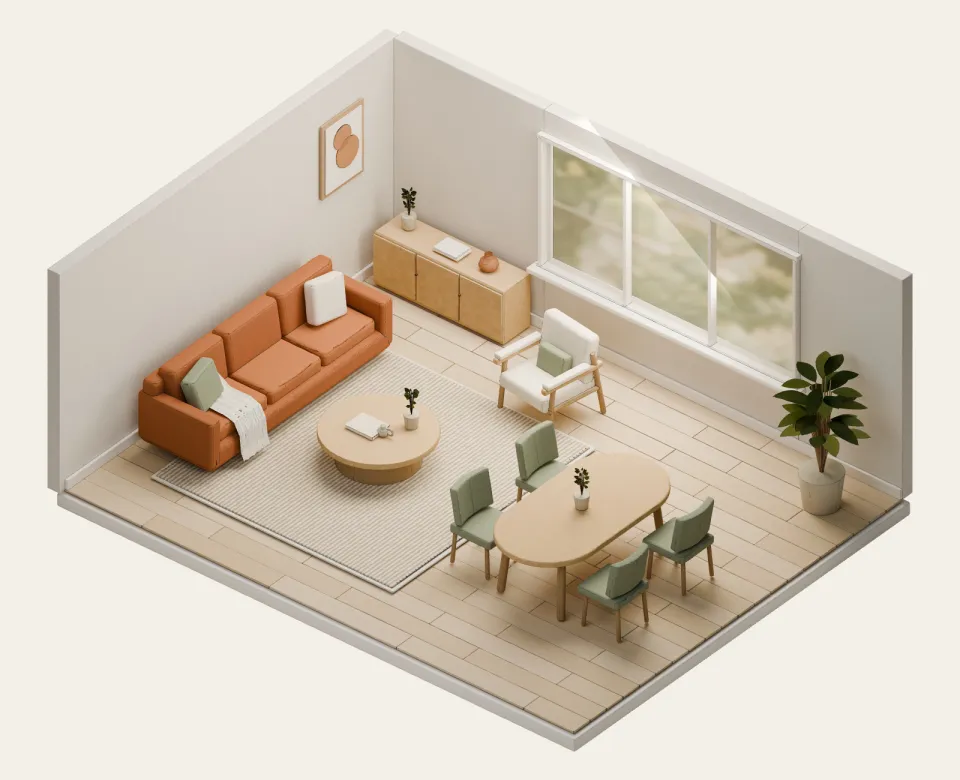 Layout A · An open center
Same room. Two ideas.
Choose a layout to compare the look and flow of the room.
Illustrative sample · No account needed to explore
Keyboard: focus the room, use arrow keys to orbit, + / − to zoom, and Home to reset.
Sign in, then upload your plan.
The workspace presents linked 2D and interactive 3D views.
Furniture can be moved, rotated, resized, duplicated, or removed.
The current workspace provides a downloadable 3D GLB export.
From drawing to space
The useful output of a floor plan to 3D conversion is not simply a beautiful image. It is a structured spatial proposal that keeps the plan legible while adding the depth needed for practical review.
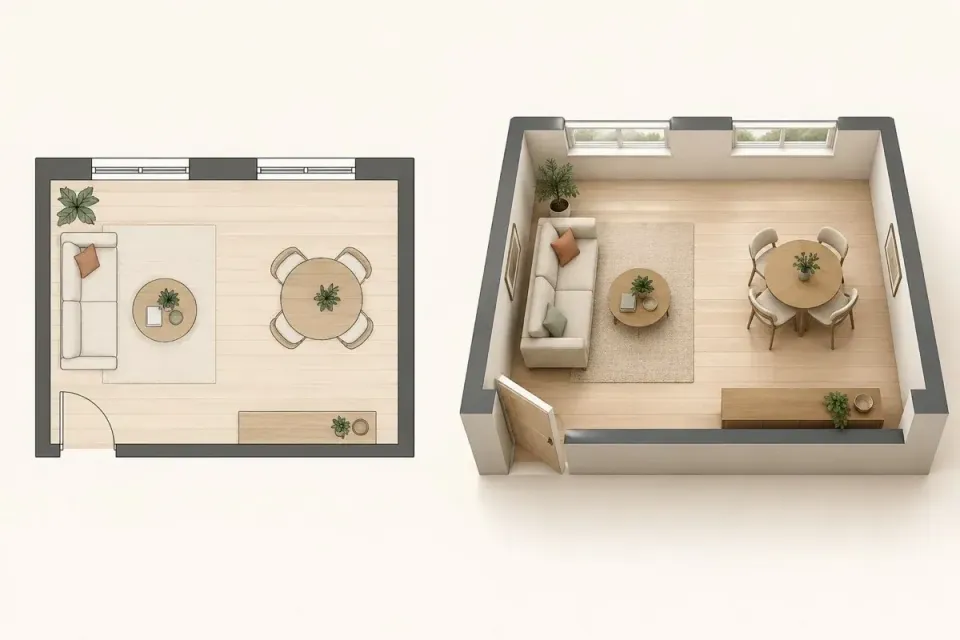
01 / From drawing to space
The floor plan to 3D process reads exterior and interior walls, openings, room boundaries, and available dimensions from the source. Scale is calibrated from a stated measurement rather than guessed from image size. That creates a consistent shell for doors, windows, ceiling height, and room relationships. If a dimension or symbol is unclear, it should be marked as an assumption for review instead of silently converted into false precision.
Try the interactive example ↗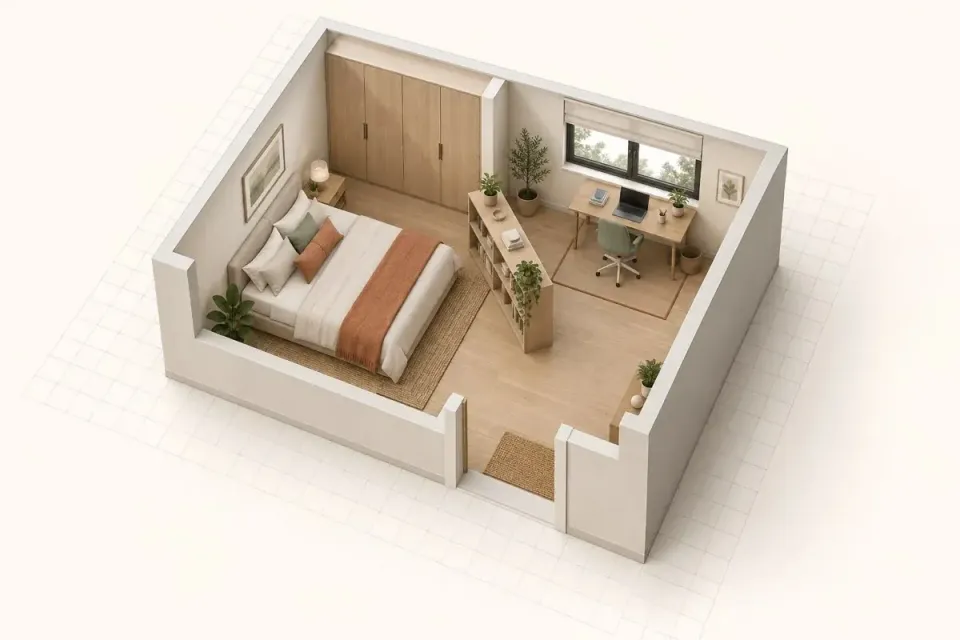
02 / From drawing to space
Once the shell is established, furniture, fixtures, finishes, and lighting can be placed at realistic sizes. The 3D model then becomes a decision surface: teams can test whether a dining chair clears a wall, whether a sofa blocks a route, how daylight reaches a work area, or whether two materials feel coherent together. Every visual choice stays connected to the underlying plan.
Try the interactive example ↗Product features
Use AI conversation and direct editing tools to turn a floor plan into a room you can keep improving.
Describe the change you want and review targeted updates to layout, materials, lighting, or furniture.
Browse furniture, place it in the room, then adjust its position while viewing the result in 3D.
Draw new walls and partitions to test room shapes, circulation, and renovation ideas.
Start with a clear 2D floor plan and use it as the base for an editable furnished 3D layout.
How it works
Upload the source, generate the room, then refine it. The detailed tutorial and preparation checks stay in the Guide.
Attach the clearest floor plan and tell the AI which rooms, dimensions, and design decisions matter.
The workspace turns the plan into linked 2D and 3D views, with progress shown while it works.
Review scale and circulation, then ask for focused furniture, material, or lighting changes.
Upload PNG or JPG images directly. PDF and CAD files cannot be uploaded directly; export the relevant plan as PNG or JPG first. Keep walls, openings, labels, and dimensions readable, and preserve the original proportions.
Functional advantages
The main value of floor plan to 3D visualization is earlier understanding. A shared spatial reference helps people resolve questions while changes are still inexpensive and the project brief is still flexible.
A browser-based floor plan to 3D tool can automate geometry creation and remove much of the repetitive setup involved in tracing walls and rebuilding room proportions. Designers can spend the saved time checking the model, interpreting the brief, and developing options. The result is a faster first conversation without pretending that automation replaces professional judgment or site verification.
Plans are precise, but many clients find them difficult to read. A model makes clearances, furniture footprints, sightlines, and room volume easier to understand. When the plan includes reliable dimensions, a floor plan to 3D model can reveal conflicts before procurement or construction. The team can then return to the drawing and resolve the source of the issue.
Clients, designers, estimators, contractors, and sales teams often describe the same room with different mental pictures. An interactive view reduces that gap. Feedback can point to a visible wall, object, or material instead of relying on vague phrases. Decisions become easier to record, compare, and carry into the next project stage.
A structured model supports controlled variations. Teams can test another furniture arrangement, finish palette, or lighting direction while preserving the same room geometry. Because each option shares a common spatial base, reviewers can focus on the actual difference. This is more useful than comparing unrelated mood images that do not reflect the project dimensions.
Industry applications
Floor plan to 3D services support different decisions depending on who uses the model. The workflow should reflect the evidence, responsibilities, and handoff expected in each industry.
In a floor plan to 3D project, designers can establish a spatial baseline before developing detailed specifications. The model helps explain layout reasoning, compare furniture sizes, coordinate material direction, and collect client feedback without requiring the client to read CAD drawings. It also gives junior team members and consultants a common reference for the brief, while the designer retains responsibility for measurement, detailing, and final selections.
A renovation proposal becomes easier to understand when scope is connected to a visible room. Sales teams can show how a wall change affects circulation, why storage needs a particular depth, or what is included in a finish package. Estimators can flag assumptions before quoting, and clients can approve a clearer direction before demolition or procurement increases the cost of change.
Empty, unfinished, or off-plan properties are hard to evaluate from line drawings alone. A furnished model can communicate scale, possible room uses, and relationships between spaces while remaining clear about what is illustrative. Property teams can prepare audience-specific styling without altering the measured shell, helping buyers or tenants assess fit without misrepresenting the built condition.
Homeowners can use a model to organize questions before meeting a professional. Testing furniture, storage, and circulation can clarify priorities and reveal where advice is needed. The model is most effective as a conversation tool: it supports a better brief and more focused consultation, but it does not replace structural, building-code, electrical, plumbing, or on-site expertise.
Quality guide
Visual realism is not the same as spatial reliability. Use these floor plan to 3D quality checks before inviting a client, estimator, or project partner to make decisions from the model.
Measured dimensions, wall positions, and fixed services are facts when they come from a reliable survey. Missing ceiling heights or unclear openings are assumptions until confirmed. Style, furniture, and color are preferences. Labeling these categories prevents an attractive option from being mistaken for verified site information and makes later corrections easier to trace.
For a floor plan to 3D review, confirm one overall dimension and several local checks, then compare furniture against real product sizes. Inspect door swings, chair pullback, appliance access, bed sides, wardrobe openings, and principal walking routes. If a critical clearance is close, measure it in the source and flag it for site confirmation rather than trusting visual appearance alone.
Review the shell and circulation first, furniture fit second, and material or lighting direction afterward. Tell participants what is ready for approval and what remains exploratory. Focused review produces more actionable feedback than asking whether someone simply likes the model, and it prevents surface styling from distracting attention from unresolved geometry.
FAQ
These answers cover the practical limits, source files, review responsibilities, editing, timing, and access expectations behind a responsible workflow.
Floor Plan to 3D
Start with a clear source, verify the geometry, and use floor plan to 3D visualization to make the next decision more concrete.
Sign in, then upload your plan.